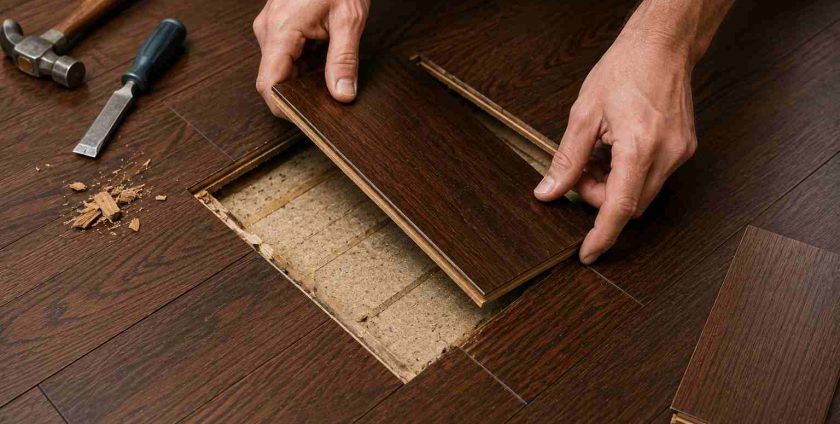
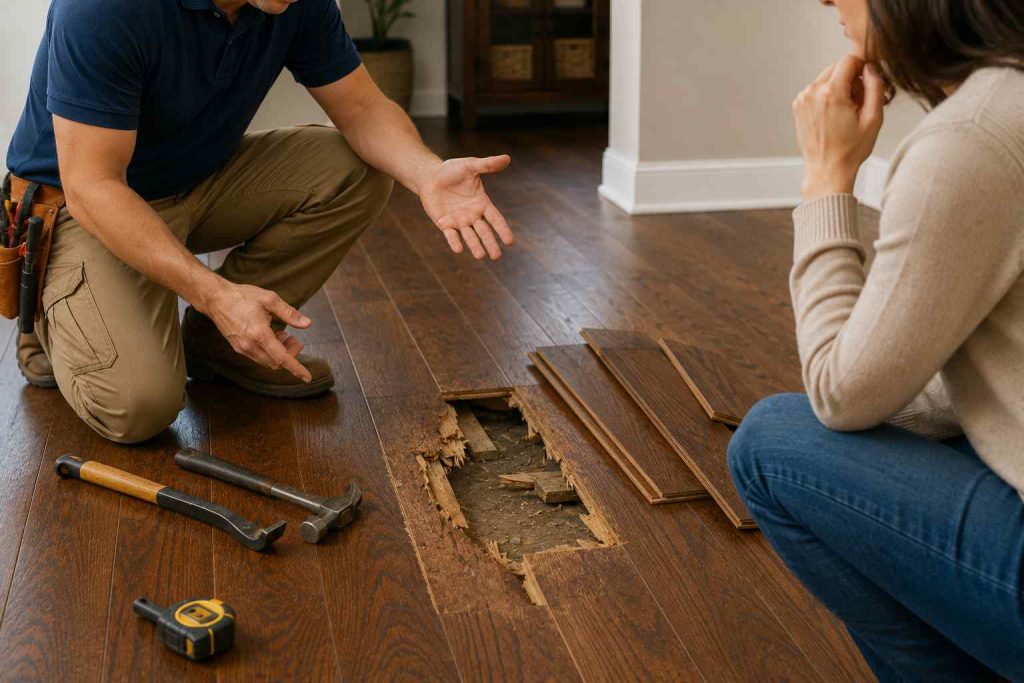
Hardwood flooring is known for its timeless beauty, durability, and ability to enhance the character of any interior space. However, even the highest-quality hardwood floors can experience damage over time. Heavy furniture, moisture exposure, accidental impacts, pet scratches, or years of daily foot traffic can leave individual planks cracked, warped, or stained beyond repair. Fortunately, replacing a single damaged plank does not always require removing the entire floor.
With the right techniques and careful preparation, it is possible to remove one damaged board and install a replacement wood floor plank while preserving the surrounding flooring. The process requires precision, patience, and quality materials, but when done correctly, the repaired area can blend seamlessly with the rest of the floor. Whether you are a homeowner, contractor, or flooring specialist, understanding the correct way to replace a damaged plank can help extend the lifespan of the floor, prevent further damage, and protect your investment for years to come.
Signs It’s Time to Replace a Hardwood Flooring Plank
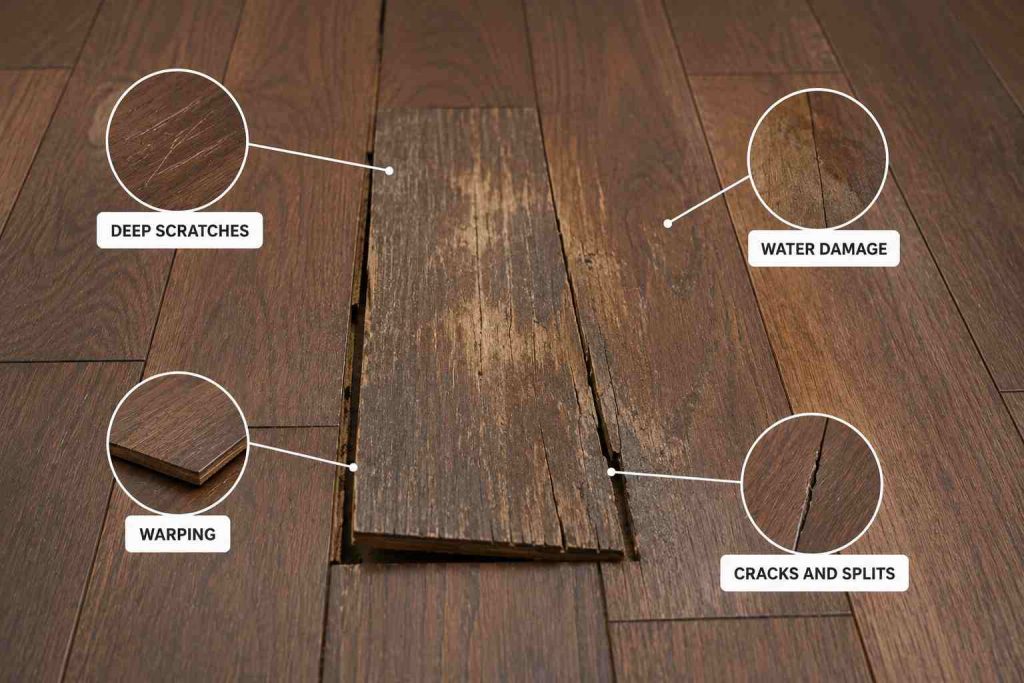
Not every damaged board requires replacement. Minor scratches, surface dents, and light discoloration can often be repaired through sanding and refinishing. However, there are situations where installing a replacement wood floor plank becomes the most practical solution. One of the most common signs is deep cracking. Cracks that penetrate through the board can compromise its structural integrity and may continue spreading over time. These cracks can also allow moisture to enter the wood, leading to further deterioration.
Warping is another indicator. Hardwood planks that have absorbed excessive moisture may begin to cup, crown, or twist. Severe warping often cannot be corrected through sanding alone and usually requires replacing the affected board. Water damage is also a major concern. Dark stains, soft spots, mold growth, or visible swelling often indicate that moisture has penetrated deep into the wood fibers. In these cases, replacing the damaged section helps prevent further issues. Therefore, you should pay close attention to engineered hardwood planks. You should also consider replacement if the board has large gouges, burn marks, or impact damage. While cosmetic repairs can improve appearance, extensive physical damage often remains visible and affects the floor’s overall aesthetics.
Loose planks can also signal a problem. If a board moves excessively when walked on or repeatedly produces squeaking sounds despite repairs, replacing it may be the most effective solution. When evaluating your floor, inspect not only the visible damage but also the surrounding boards. Understanding the cause of the damage helps prevent the same issue from affecting the newly installed plank.
Tools and Materials You’ll Need
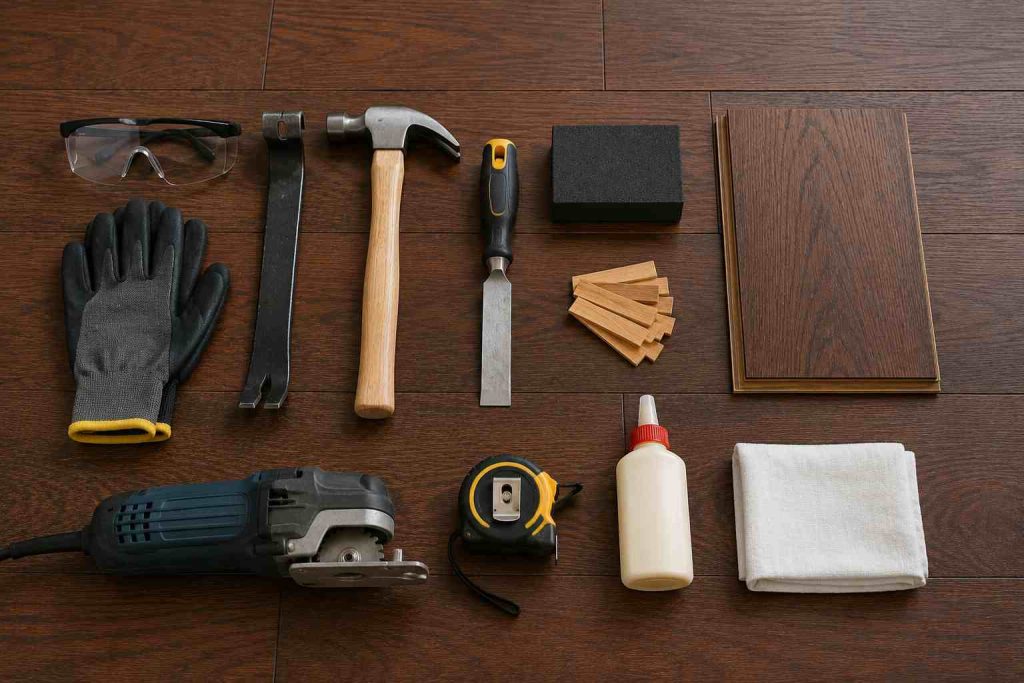
Before beginning the project, gather all necessary tools and materials. Proper preparation helps ensure a smoother installation process and reduces the risk of damaging adjacent flooring. A circular saw is typically the primary tool used to cut out the damaged plank. The blade depth should be adjusted carefully so it cuts through the board without damaging the subfloor underneath. A drill and wood drill bits are useful for creating starter holes near the ends of the plank. These holes provide safe entry points for saw cuts and help reduce the risk of splitting surrounding boards.
A sharp wood chisel is essential for removing remaining pieces after the main cuts have been completed. It also helps clean grooves and joints before installing the new plank. A hammer and pry bar can assist with extracting stubborn pieces of wood. Use these tools gently to avoid damaging neighboring boards. You’ll also need measuring tools, including a tape measure and carpenter’s square, to ensure accurate dimensions for the replacement board.
For installation, prepare wood adhesive or flooring adhesive suitable for hardwood applications. Depending on the flooring system, finishing nails may also be required. The most important material is the new plank itself. Ideally, the replacement board should match the species, grade, thickness, width, and finish of the existing floor. Selecting the correct replacement wood floor plank ensures a seamless repair and maintains visual consistency throughout the room. Safety equipment should never be overlooked. Protective eyewear, gloves, hearing protection, and a dust mask help create a safer working environment. Having all tools organized and readily accessible before starting minimizes interruptions and allows you to focus on precision throughout the process.
Step-by-Step: How to Cut Out and Replace a Hardwood Flooring Plank
Replacing a damaged hardwood plank requires careful execution. Following a structured process helps prevent damage to surrounding boards while ensuring the repaired area blends naturally with the rest of the floor. Taking your time during each stage will improve the final result and help extend the lifespan of the repaired flooring.
- Step 1: Identify and Prepare the Damaged Plank
Locate the damaged board and inspect nearby planks to ensure they are unaffected. Mark the plank clearly, remove furniture from the area, and clean away dust and debris before starting the repair. A clean workspace allows for greater accuracy and reduces the chance of mistakes during cutting.
- Step 2: Create Safe Cutting Lines
Adjust the circular saw depth to match the plank thickness. Drill starter holes near both ends of the board to create safe stopping points for the saw cuts. Then, make two parallel cuts along the length of the plank, working carefully to maintain clean and accurate lines. Always wear protective eyewear and work slowly to maintain full control of the saw.
- Step 3: Remove the Damaged Board
Use a chisel to remove the center section first, then carefully extract the remaining pieces attached to the tongue-and-groove joints. Work gently to avoid damaging adjacent flooring. If pieces are difficult to remove, loosen them gradually rather than forcing them out.
- Step 4: Clean and Measure the Opening
Remove leftover adhesive, splinters, and debris from the opening. Once the area is clean and level, measure it accurately and prepare the replacement wood floor plank. Perform a dry fit to confirm proper alignment before installation. This simple test can prevent fitting issues later in the process.
- Step 5: Prepare the New Plank
If necessary, trim the lower groove edge of the new board to allow easier insertion. Proper preparation of the replacement wood floor plank helps ensure a smoother installation and better final appearance. Double-check the dimensions before moving to the next step.
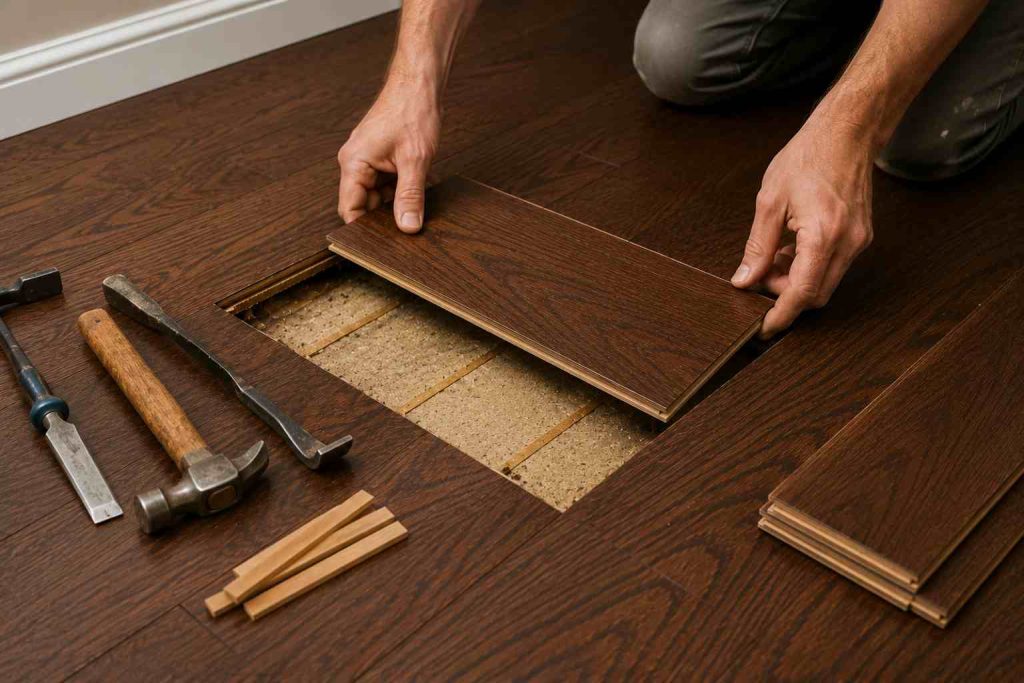
- Step 6: Install the Replacement Plank
Apply flooring adhesive evenly and position the new board into the opening. Ensure the replacement wood floor plank sits flush with neighboring boards and that all joints align properly. Use a tapping block for minor adjustments if needed.
For extra security, install finishing nails where appropriate and fill any visible nail holes with matching wood filler. Wipe away excess adhesive immediately to keep the floor surface clean.
- Step 7: Finish and Inspect the Repair
Allow the adhesive to cure fully before exposing the area to foot traffic or heavy furniture. Once dry, inspect the repair and lightly sand if necessary. If the flooring has a site-applied finish, stain and finish the repaired section to match the surrounding boards. Carefully compare the repaired area with the surrounding floor under both natural and artificial lighting. This helps ensure a consistent appearance and allows you to make any final touch-ups if needed. When installed correctly, a replacement wood floor plank should blend seamlessly with the existing floor, restoring both its appearance and functionality while making the repair virtually unnoticeable.
When Should You Call Flooring Professionals?
While many experienced DIY enthusiasts can successfully replace a damaged hardwood plank, certain situations are best handled by professionals. One example is extensive damage affecting multiple boards. Large repair areas often require specialized tools and advanced installation techniques to maintain floor stability and appearance. Historic or high-value hardwood flooring may also warrant professional attention. Matching older wood species, custom milling profiles, and aged finishes often requires expert knowledge. If the damaged area involves structural issues beneath the flooring, professional assessment becomes especially important.
Problems such as subfloor deterioration, hidden moisture intrusion, or uneven surfaces should be addressed before installing a new board. Complex installation patterns can also present challenges. Floors featuring herringbone, chevron, parquet, or intricate inlays require precise craftsmanship to achieve a seamless repair. Professional flooring specialists can also provide color-matching services. Even when using the correct replacement wood floor plank, achieving a perfect finish match may require specialized staining and finishing techniques.
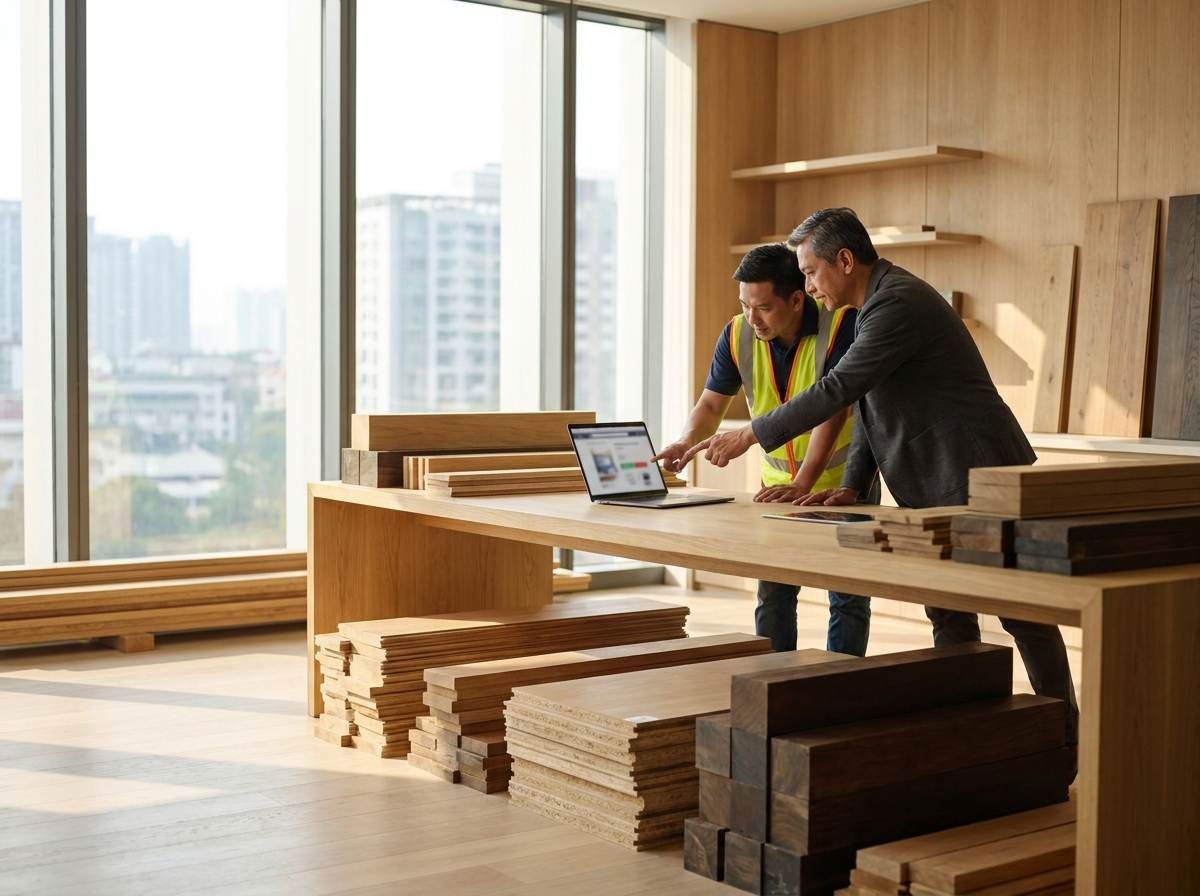
Jati Luhur Agung believes that quality hardwood flooring deserves equally high-quality materials and expert craftsmanship. Whether you are replacing a single damaged board, renovating an entire room, or planning a new flooring installation, selecting the right wood products plays a significant role in achieving durable and visually appealing results. High-quality materials not only enhance the beauty of a space but also contribute to better performance, stability, and longevity over time. If you are looking for trusted hardwood flooring solutions, replacement boards, or reliable wood products for residential and commercial applications, you can visit official website Jati Luhur Agung. Explore our extensive selection of premium wood materials and discover how Jati Luhur Agung commitment to quality can help you create beautiful, long-lasting floors that retain their value and elegance for years to come, while ensuring every project achieves the professional finish and lasting performance you expect.
-
How to Order Lumber Online from a Trusted Supplier
The demand for high-quality wood materials continues to increase as construction, furniture production, and interior design industries expand worldwide. Choosing the right lumber supplier has become an important decision for homeowners, contractors, architects, and business owners who need durable materials for their projects. Today, many customers prefer to order lumber online because it provides convenience,…
-

Building Material Supplier for Your Brand
Every successful construction project begins with one important decision, choosing the right materials and the right partner behind them. In an industry where quality, durability, and precision determine long-term results, businesses need more than just a source of products. They need a reliable partner that understands construction demands and can provide materials that support every…
-

Choosing the Right Rubber Flooring Company for Your Project
Selecting the right flooring partner is one of the most important decisions when developing a commercial space, sports facility, gym, or professional training area. The quality of the flooring affects safety, durability, comfort, and the overall performance of the space. A trusted rubber flooring company does more than simply provide materials; it helps clients choose…
- By:PT. Jati Luhur Agung
- Tags: replacement wood floor plank, wood floor, wood floor plank
- Category: Wood Flooring
- 0 comment