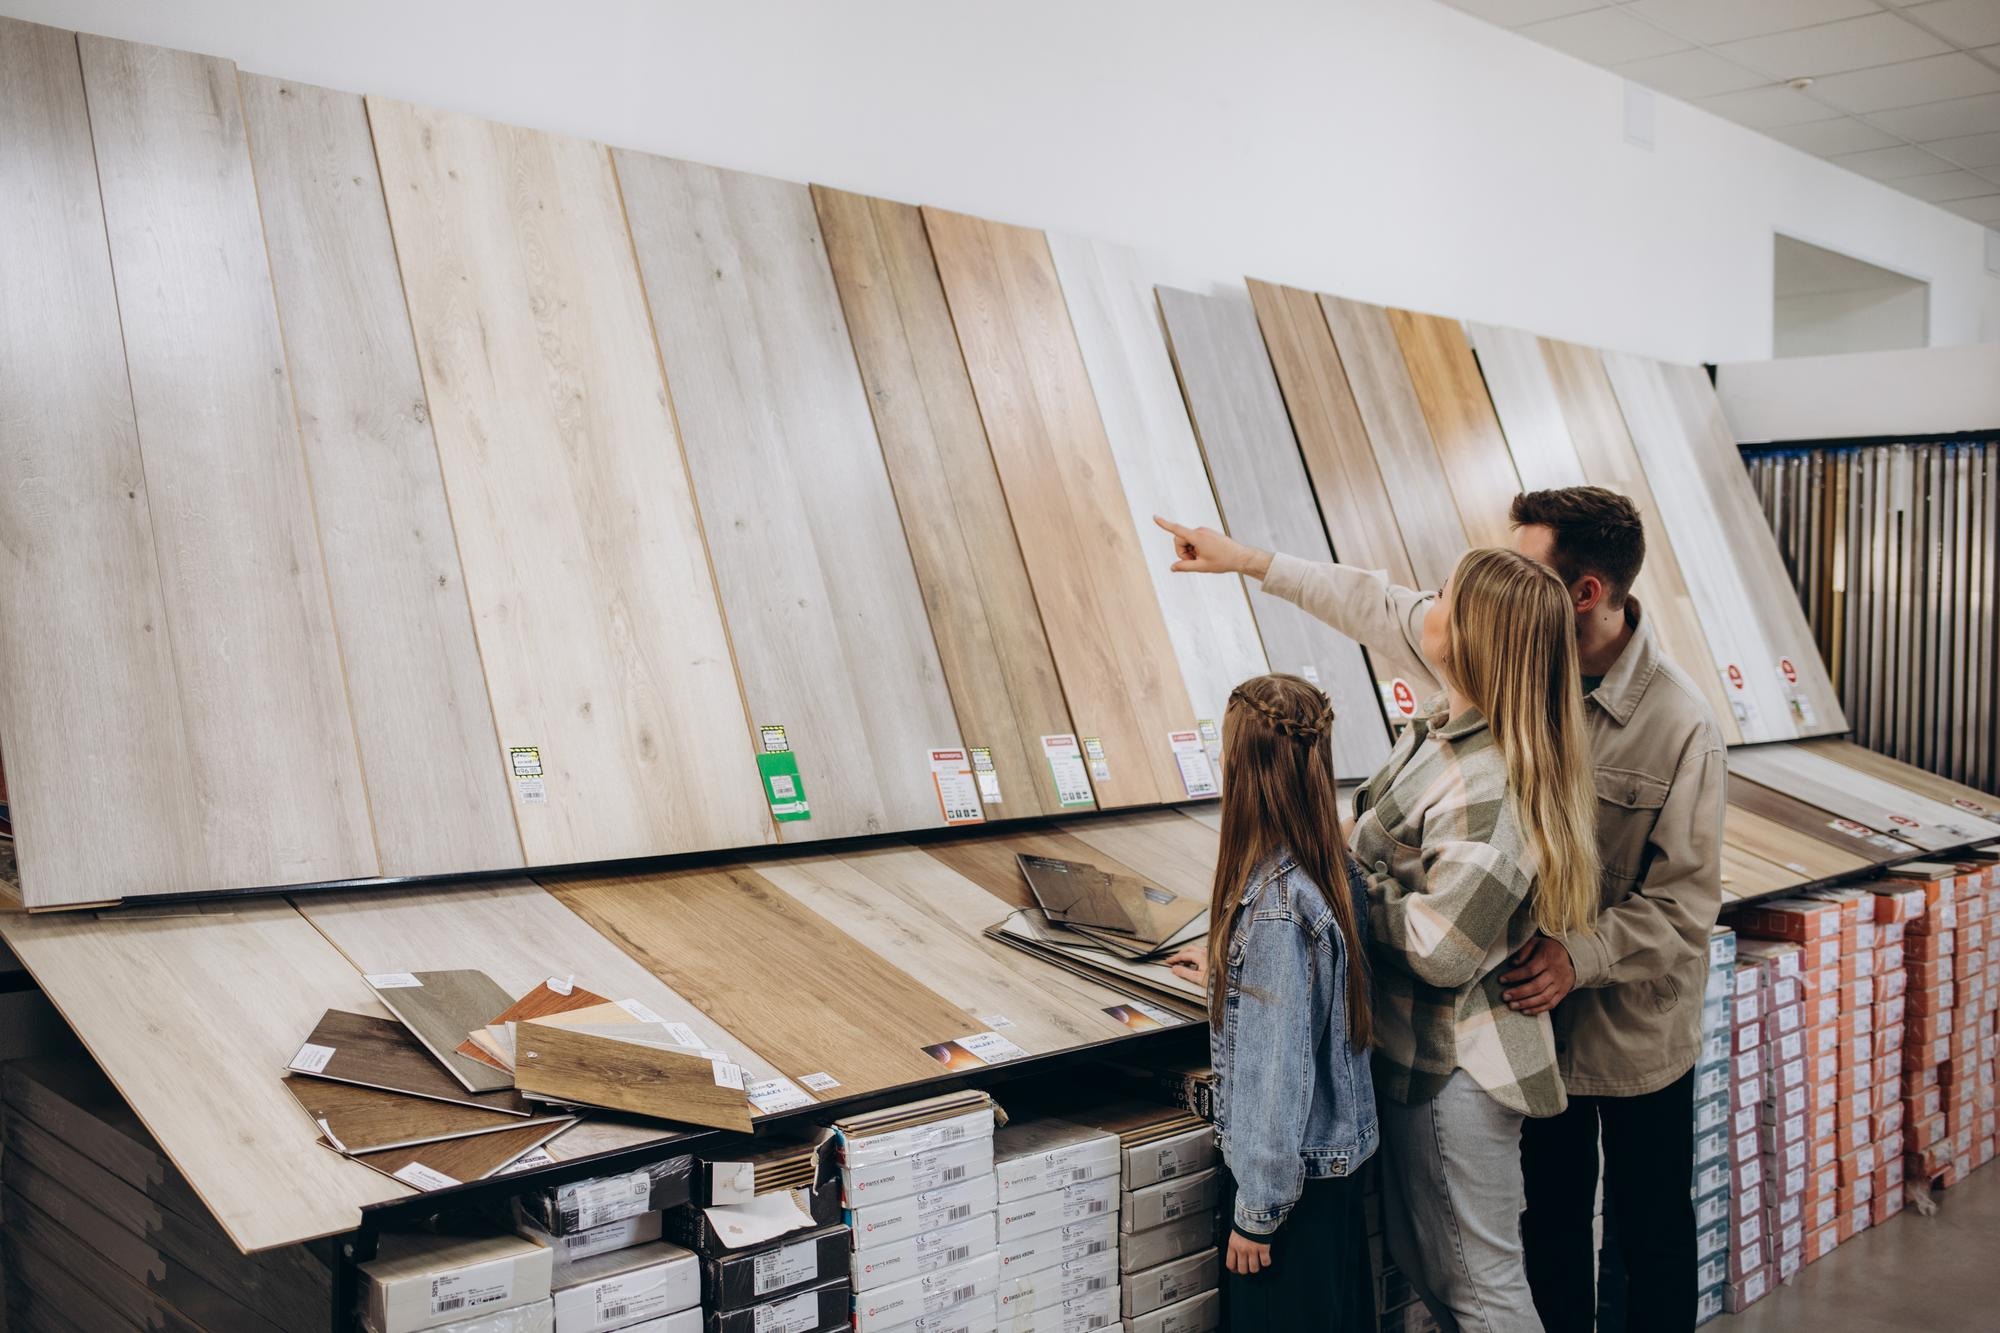
Engineered wood flooring has become one of the most popular choices for modern homes and offices. Its layered construction provides durability, better resistance to moisture than solid wood, and an authentic hardwood appearance that enhances any interior.
Like any surface exposed to daily use, however, scratches, dents, water stains, and wear marks are inevitable. The good news is that you don’t always need to replace the entire floor when damage occurs. With the right techniques, you can effectively repair engineered wood flooring and bring back its natural beauty. With proper care, it will retain its charm and remain stunning for many years.
Assessing The Damage on Your Engineered Wood Flooring
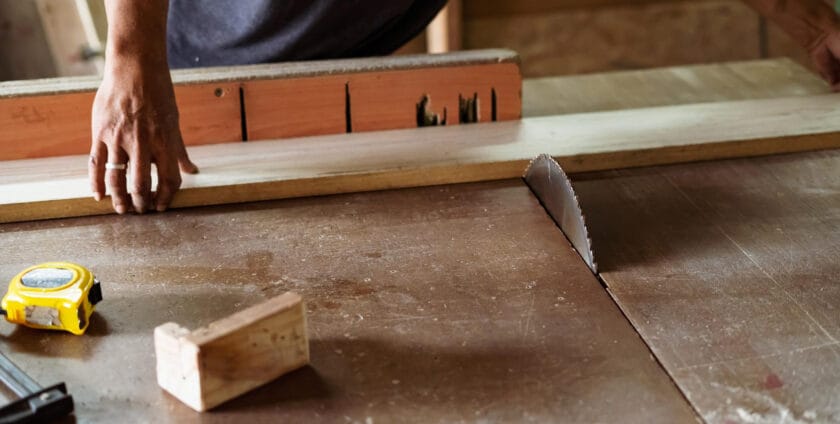
Before you rush into any repairs, the first step is to properly assess the damage. Not all issues require the same approach, and identifying the severity of the problem can save you both time and money. Engineered wood is composed of a real hardwood veneer on top, supported by layers of plywood or fiberboard beneath. This structure makes it more stable but also limits how much sanding and refinishing you can do.
1. Surface Scratches
Light scratches that only affect the finish are often the easiest to fix. They usually don’t penetrate the veneer and can be touched up with repair kits or wax filler sticks.
2. Deep Gouges & Dents
If the scratch or dent has gone deeper into the veneer, you may need more than just a touch-up. In some cases, wood filler or colored putty can disguise the damage.
You Need to Know: All About the Best Engineered Wood Flooring
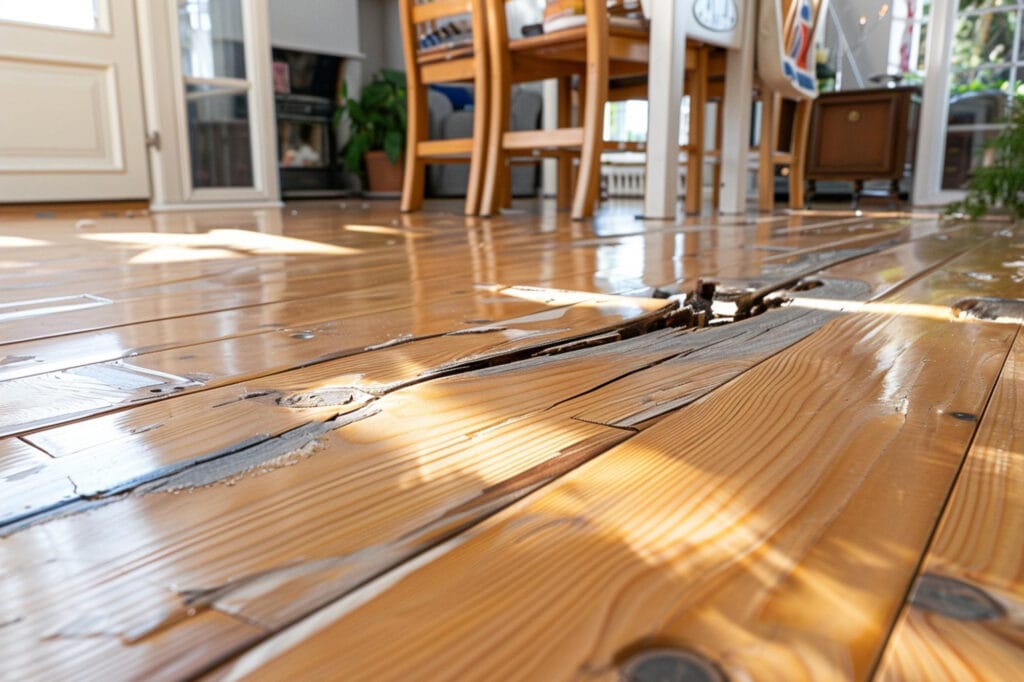
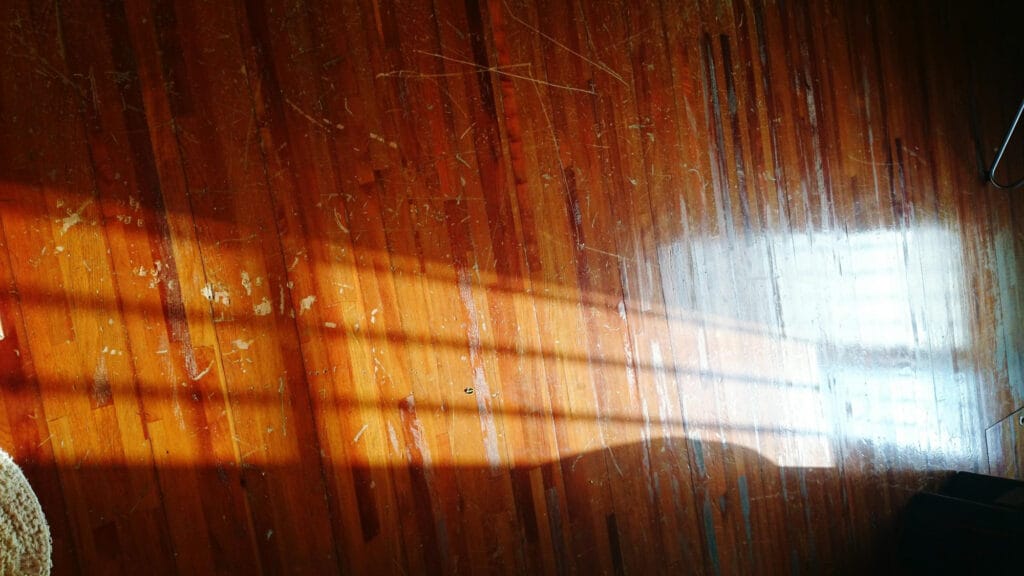
3. Water Stains & Warping
Moisture is one of the main enemies of engineered wood. Prolonged exposure to water can cause planks to swell or warp. While mild stains can sometimes be buffed out, warped planks often require replacement.
4. Loose or Noisy Boards
If you hear creaking or notice a plank moving underfoot, the issue might be related to improper installation or changes in humidity. This often requires re-gluing or securing the affected boards.
By carefully examining the condition of your floor, you can decide whether a simple touch-up or a more intensive repair is needed. Skipping this step may lead to unnecessary work or even cause further damage.
Common Issues & Quick Fixes for Engineered Wood Floors
Once you’ve determined the type of damage, it’s time to move forward with the appropriate repair method. Here are some of the most common problems homeowners face and how to deal with them:
1. Scratches and Minor Surface Damage
For small scratches, a wax repair stick or a touch-up marker that matches your floor’s color can do wonders. Simply rub the stick over the scratch, buff gently, and the flaw will blend with the surrounding wood. For added protection, finish with a layer of clear polish.
2. White Spots & Stains
Sometimes, water or heat can leave behind white rings or cloudy spots. To fix this, lightly rub the affected area with a soft cloth and a small amount of mineral oil. If the stain persists, a specialized hardwood floor cleaner may be required.
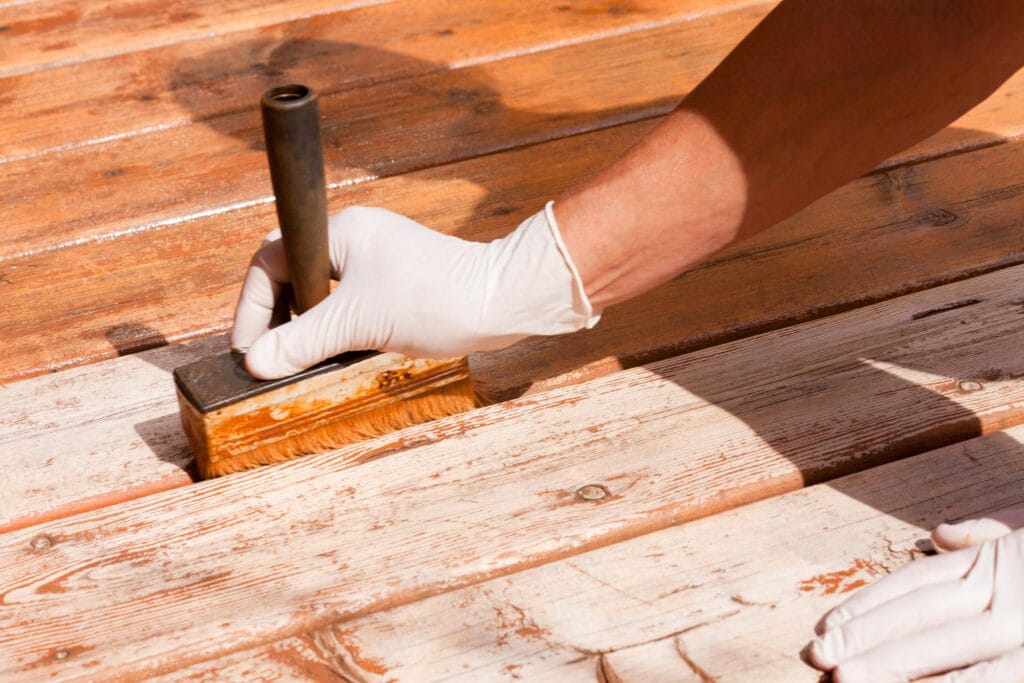
3. Dents & Gouges
When dents are noticeable, apply a wood filler that matches the floor’s shade. Once it dries, sand it carefully with fine-grit sandpaper, making sure not to damage the surrounding veneer. Finish by applying a thin layer of floor finish to blend the repair.
4. Squeaks & Loose Planks
A squeaky plank is often caused by gaps between the subfloor and the plank itself. Injecting adhesive into the gap or reattaching the board with finishing nails can eliminate the problem. Be careful not to damage the veneer while securing the board.
5. Sun Fading
Over time, UV light can cause sections of your floor to lose color. The best way to prevent this is by rotating rugs and furniture. For already faded spots, professional refinishing might be the only way to restore consistency.
These fixes can extend the life of your floor significantly. By applying these methods carefully, you can often repair engineered wood flooring without the need for full replacements.
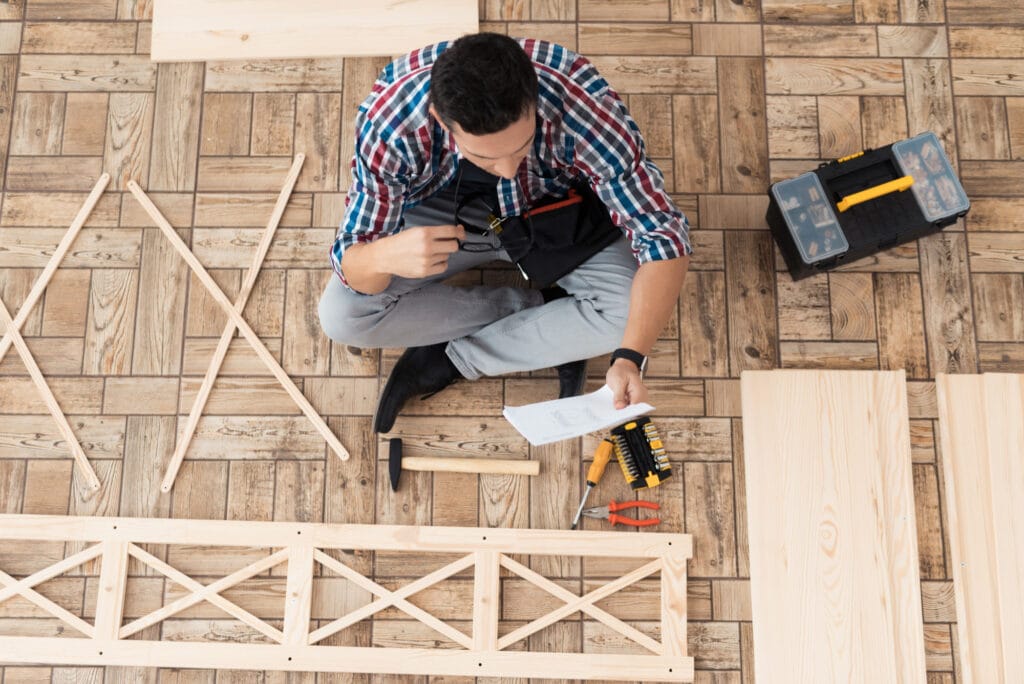
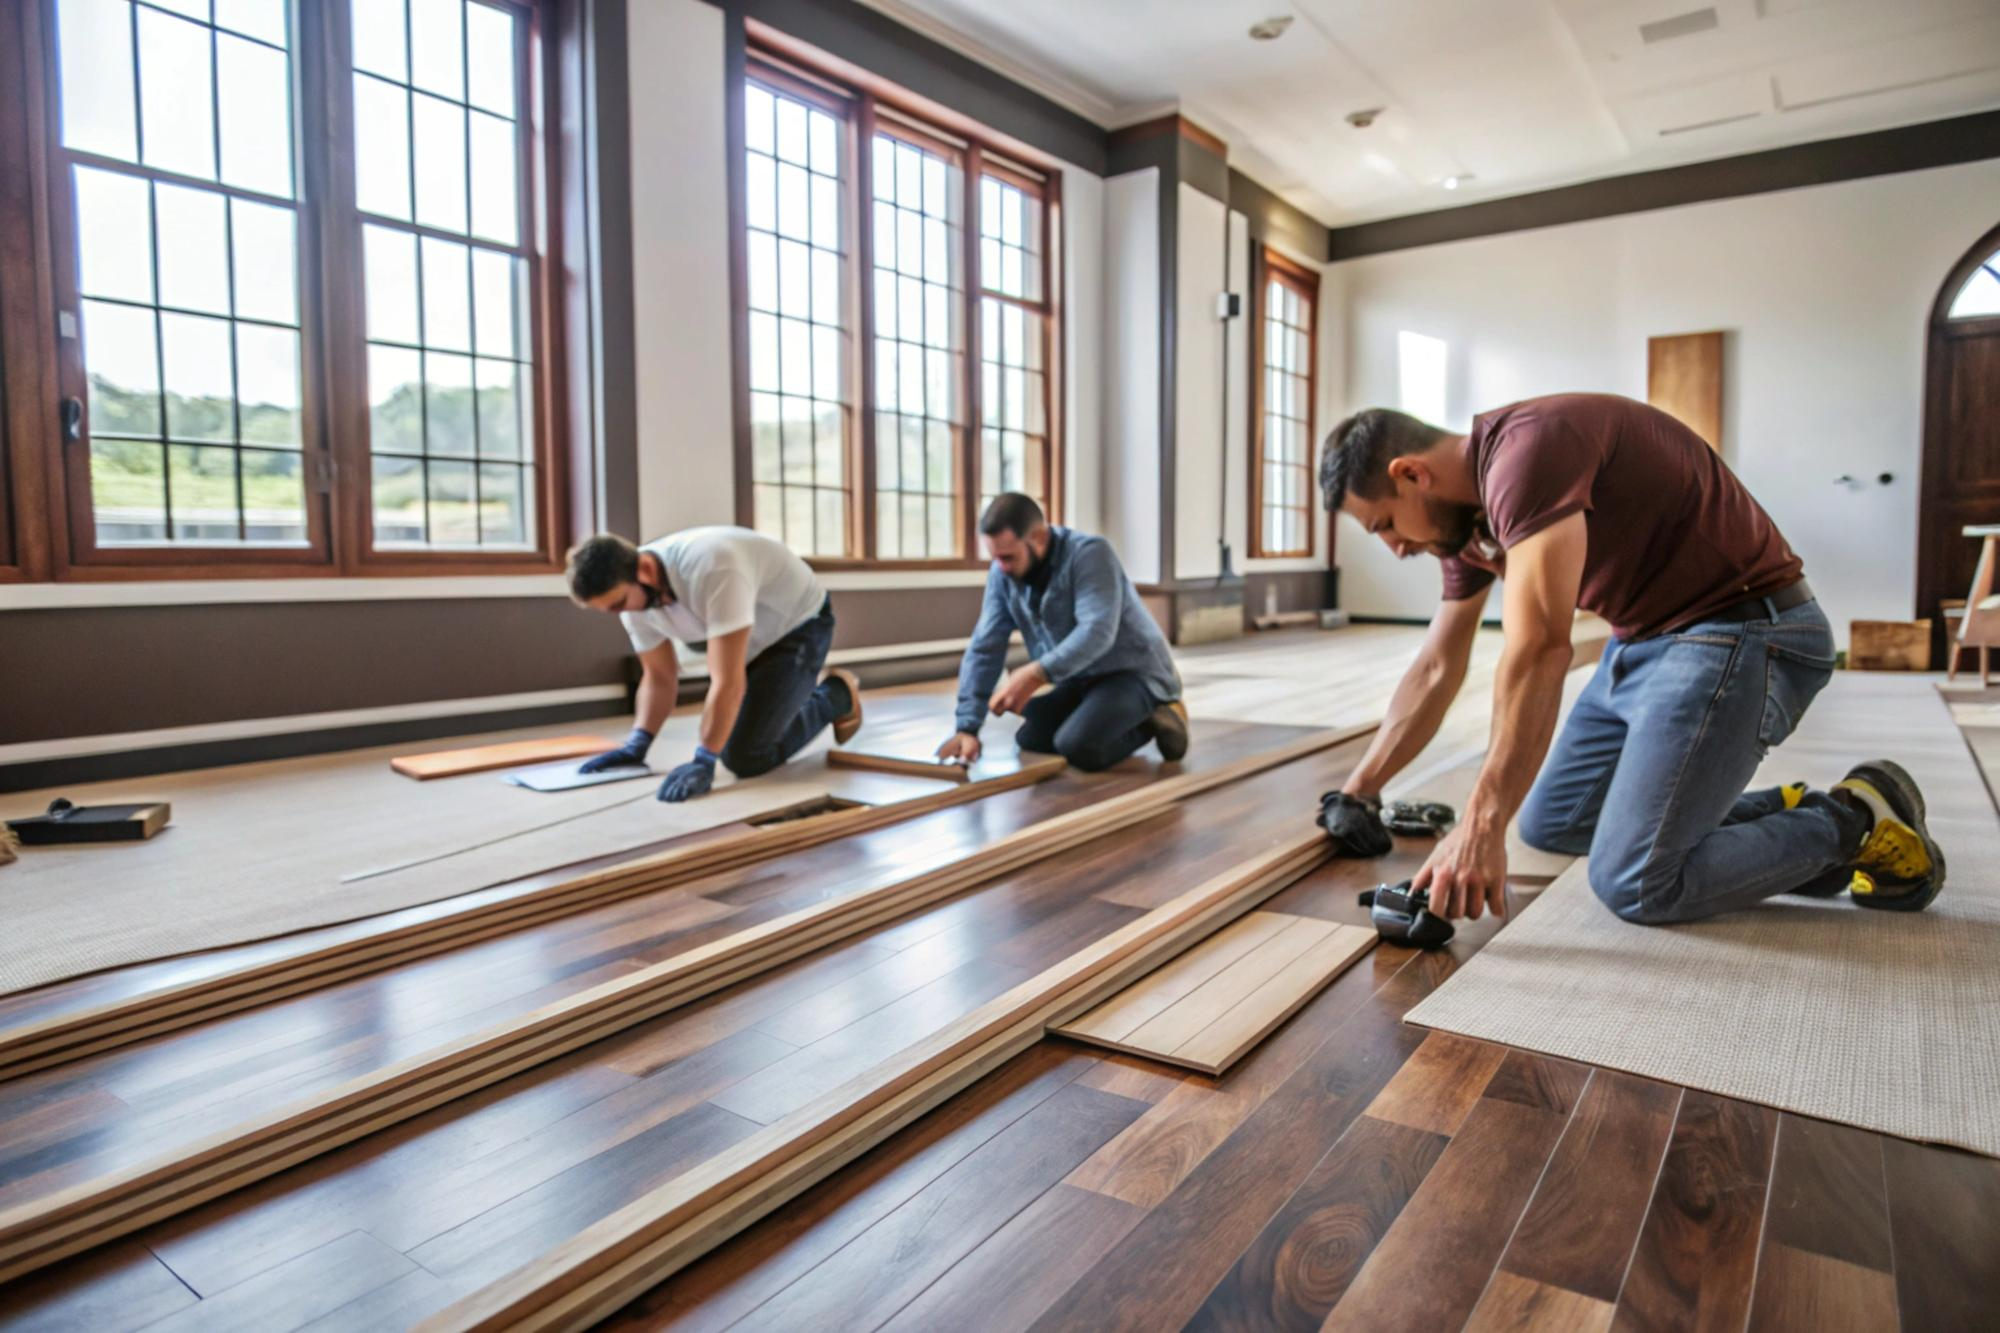
How to Replace Damaged Engineered Wood Planks
While minor issues can often be repaired, there are cases when replacing planks is the only option. This is especially true if the veneer has worn down completely, if the plank is deeply warped, or if water damage has compromised its stability. Fortunately, replacing a plank is a manageable task if you follow the right steps.
Step 1: Gather Your Tools
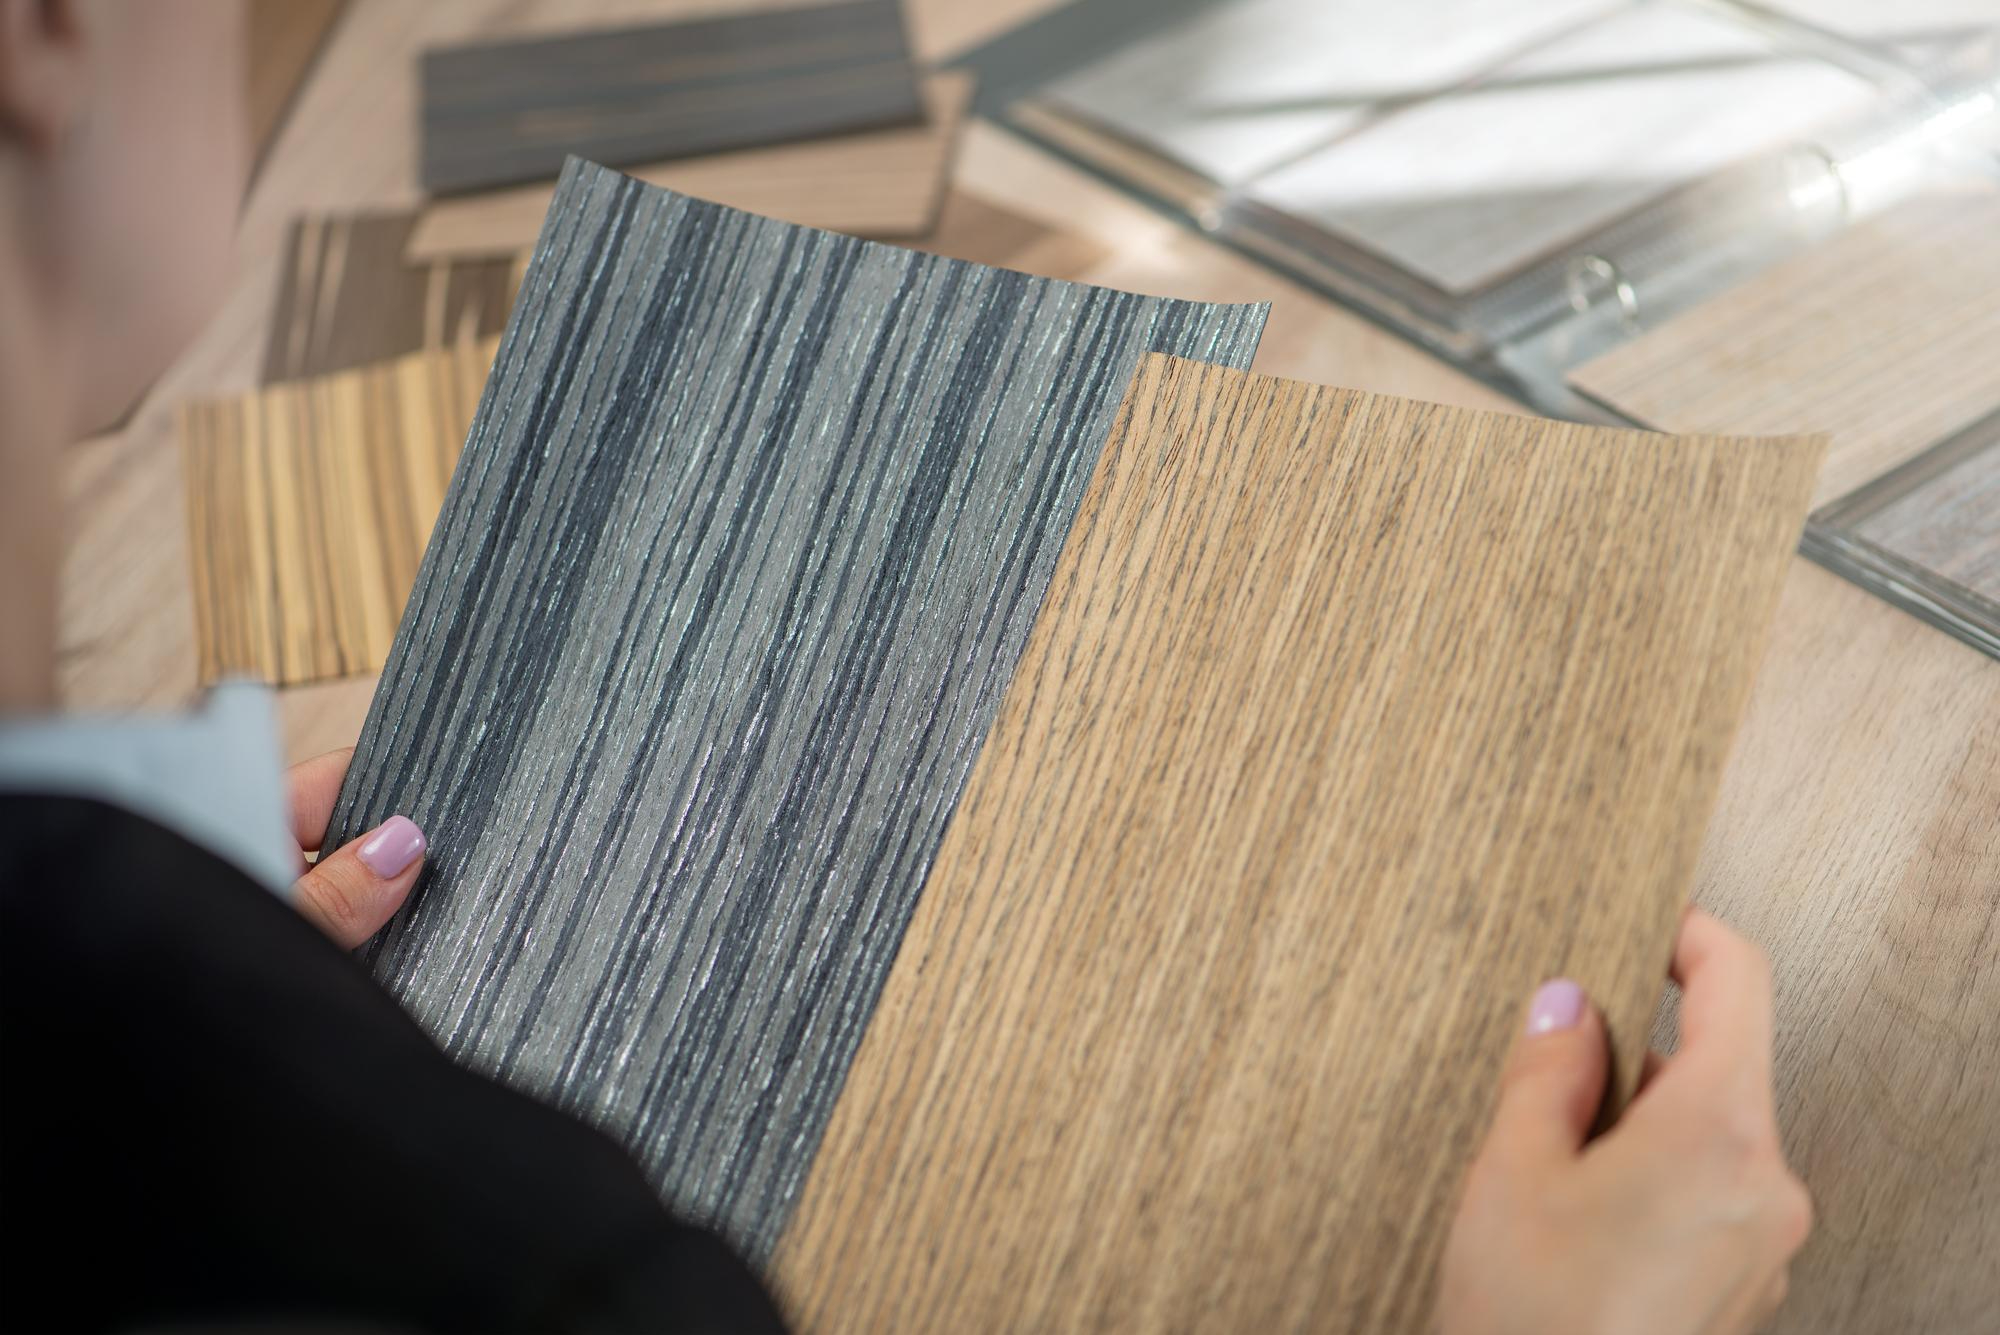
You’ll need a circular saw, chisel, hammer, wood glue, replacement plank, and safety gear. Make sure the new plank matches the existing floor in color and style.
Step 2: Remove The Damaged Plank
Carefully cut down the middle of the damaged plank with a circular saw, being cautious not to cut into the subfloor. Remove the pieces using a chisel and hammer. Clean any debris or old adhesive from the exposed area.
Step 3: Prepare The Replacement Plank
Trim the replacement plank to fit the space. Remove the bottom part of the groove so that the new plank can be dropped into place without disturbing surrounding boards.
Step 4: Install The New Plank
Apply wood glue to the edges and fit the plank into the gap. Use weights to press the plank firmly in place until the adhesive sets. Wipe off any excess glue before it dries.
Step 5: Finishing Touches
Once the glue has cured, polish the area to blend the new plank with the rest of the floor. Over time, the new plank will age naturally and match the surrounding surface.
Replacing planks may seem daunting, but with patience and precision, you can achieve professional-looking results. This is a vital skill to learn if you want to effectively repair engineered wood flooring in areas that suffer extensive damage.
If you’re considering professional assistance or exploring premium wood flooring solutions, we are a trusted partner you can rely on. With years of experience, we specializes in crafting high-quality wood products that combine durability, aesthetic value, and sustainable practices.
Whether you need expert guidance on how to repair engineered wood flooring or you’re searching for timeless flooring options to elevate your home or office, Jati Luhur Agung team offers solutions tailored to your needs. Visit our official website and discover how quality craftsmanship can transform your space.
The Performance and Value of Engineered Hardwood Flooring for Your Home
Choosing the right flooring is one of the most significant investments you will make in your home. It’s the literal foundation of your interior design, influencing everything from acoustic quality to property value. For decades, solid wood was the undisputed king, but modern innovation has shifted the spotlight. Homeowners today are increasingly asking, “is engineered…
Comparing 3 Ply and Multi Ply Engineered Wood Flooring Performance, Which One Should You Choose?
The world of interior design and architectural engineering often feels like a balance between aesthetic purity and structural pragmatism. When it comes to hardwood flooring, the choice is no longer just about the species of wood or the stain color, it is about the very anatomy of the plank beneath your feet. For decades, solid…
The Complete Guide to Choosing Between Solid and Engineered Wood Floors
Imagine walking into a room where the floor doesn’t just support your furniture, but actually tells a story. There is a specific, undeniable magic in the grain of natural timber, the way it catches the morning light, the warmth it holds under your bare feet, and that faint, earthy scent that makes a house feel…
- By:PT. Jati Luhur Agung
- Tags: engineered wood floor, repair engineered wood
- Category: Wood Flooring
- 0 comment