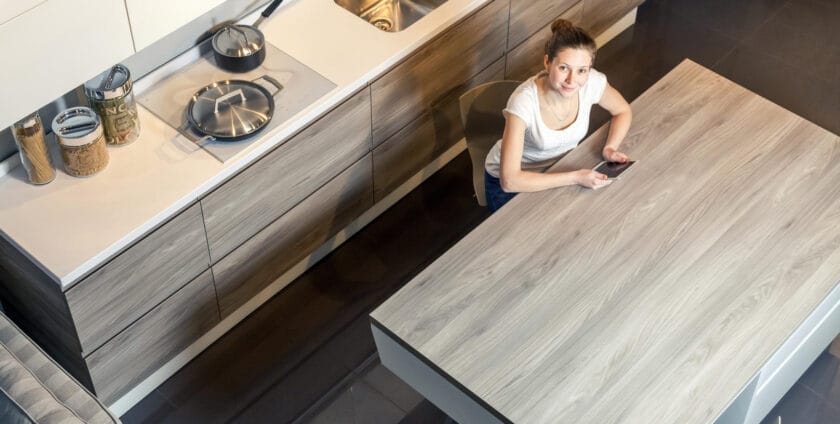
Your kitchen is the heart of your home, a place where family gathers, meals are prepared, and memories are made. If your laminate countertop looks worn out full of scratches, stubborn stains, or just feels outdated, you’re probably looking for a simple and budget-friendly way to give it a fresh new look without calling in expensive pros. Fortunately, swapping out laminate countertops can be a DIY-friendly project when you plan ahead, use the right tools, and understand each step involved. By learning how to change laminate countertop yourself, you can give your kitchen a fresh, personalized look that fits both your budget and style.
Before You Buy

Preparation is crucial when you want to change laminate countertop easily. Before heading to the store or placing an order online, meticulous planning saves time and prevents costly mistakes. Start by measuring the current countertop accurately, because size is everything in this project. Use a tape measure to record the length and width, and include thickness, which for laminate is commonly between 1/2 inch to 1 inch. Don’t forget to mark any cutouts such as sinks, stovetops, cooktops, or faucets, because these must be precisely replicated in your new countertop.
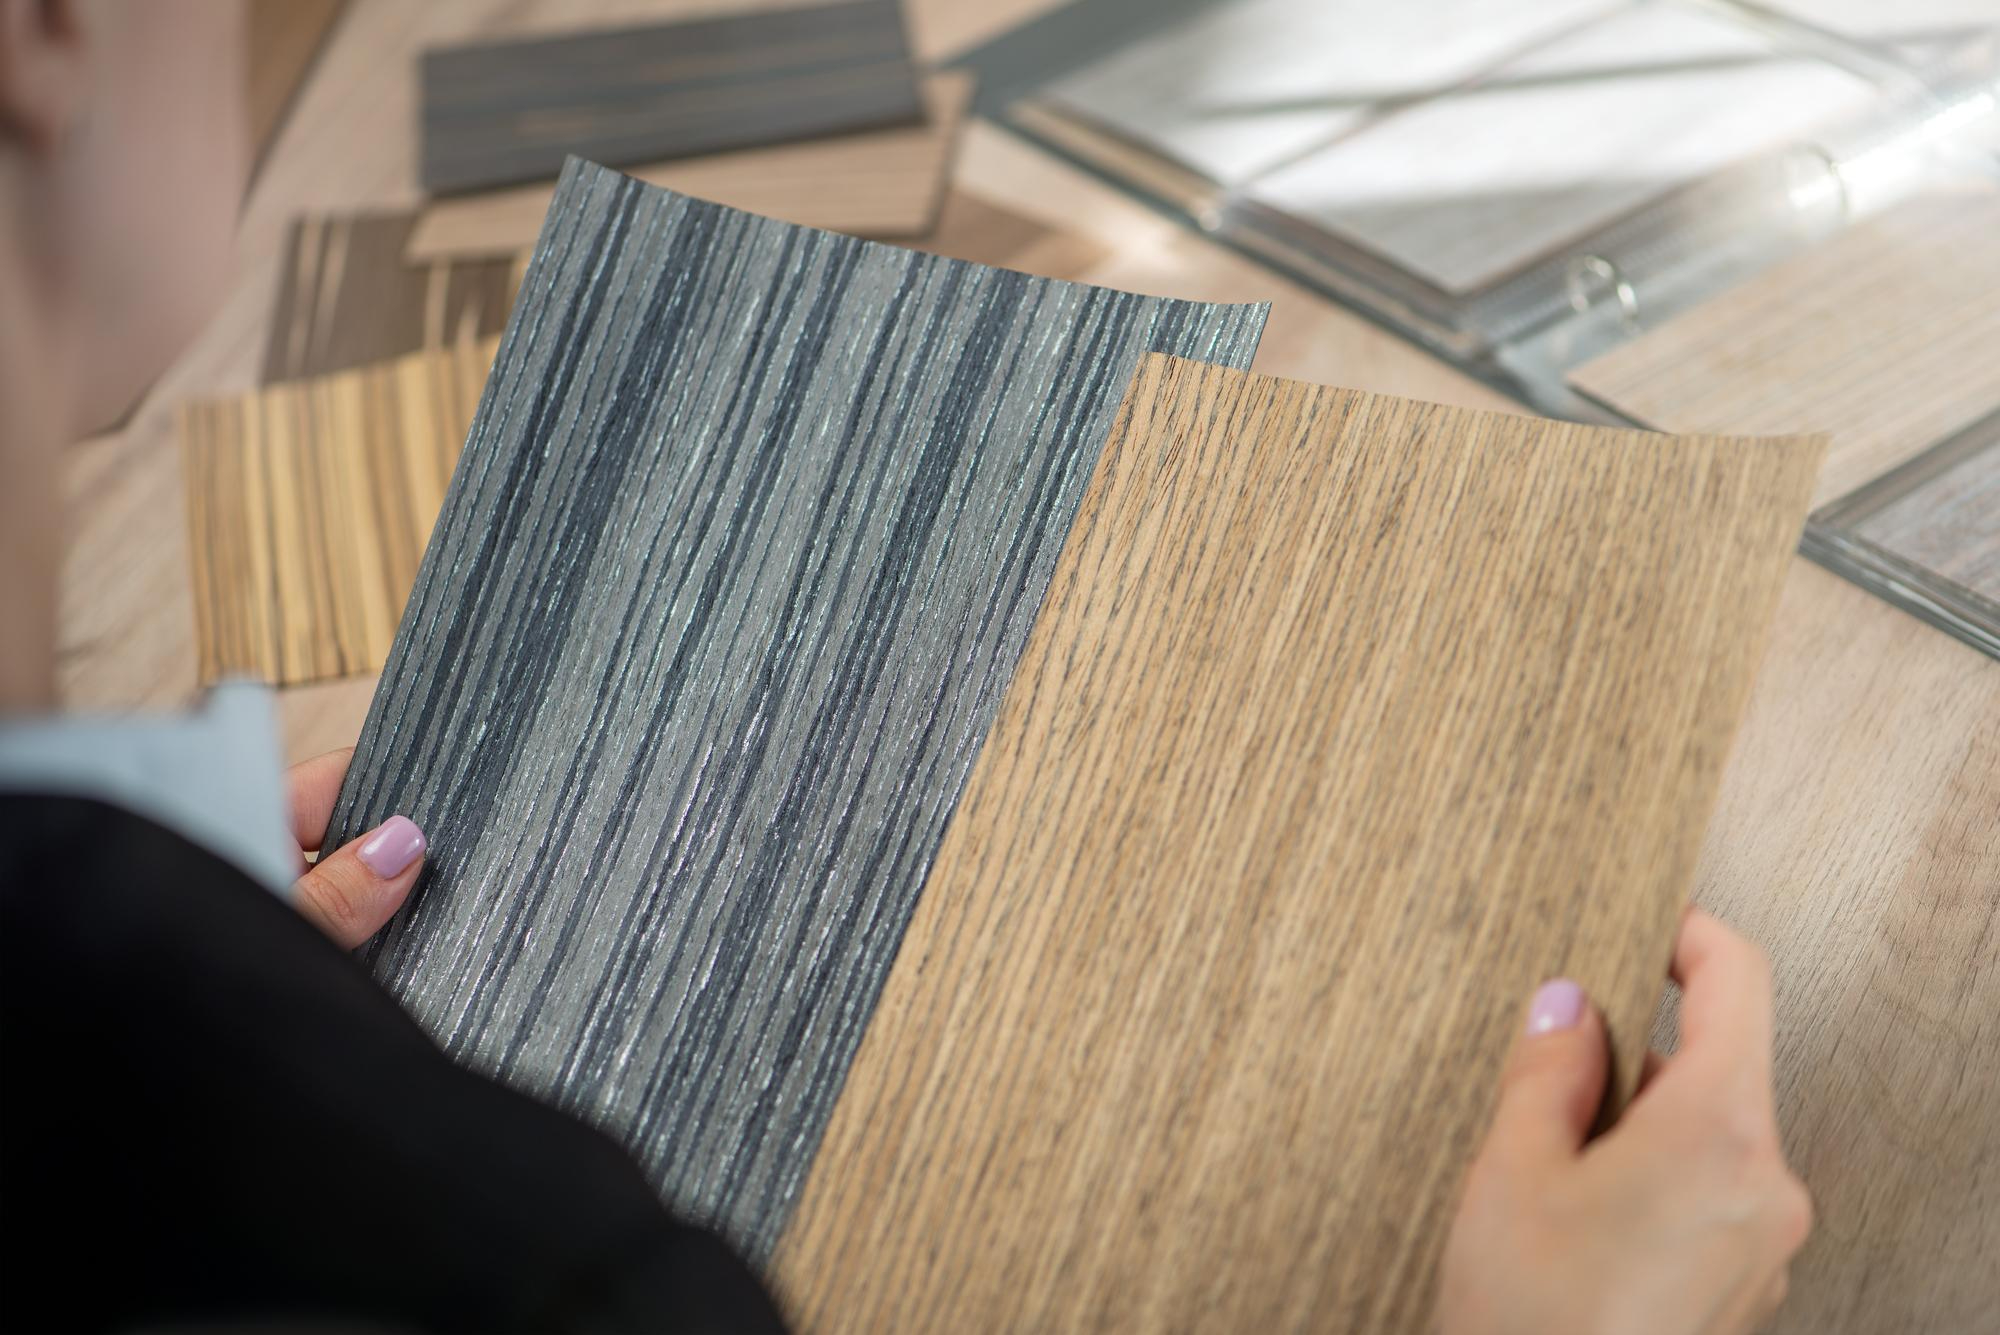
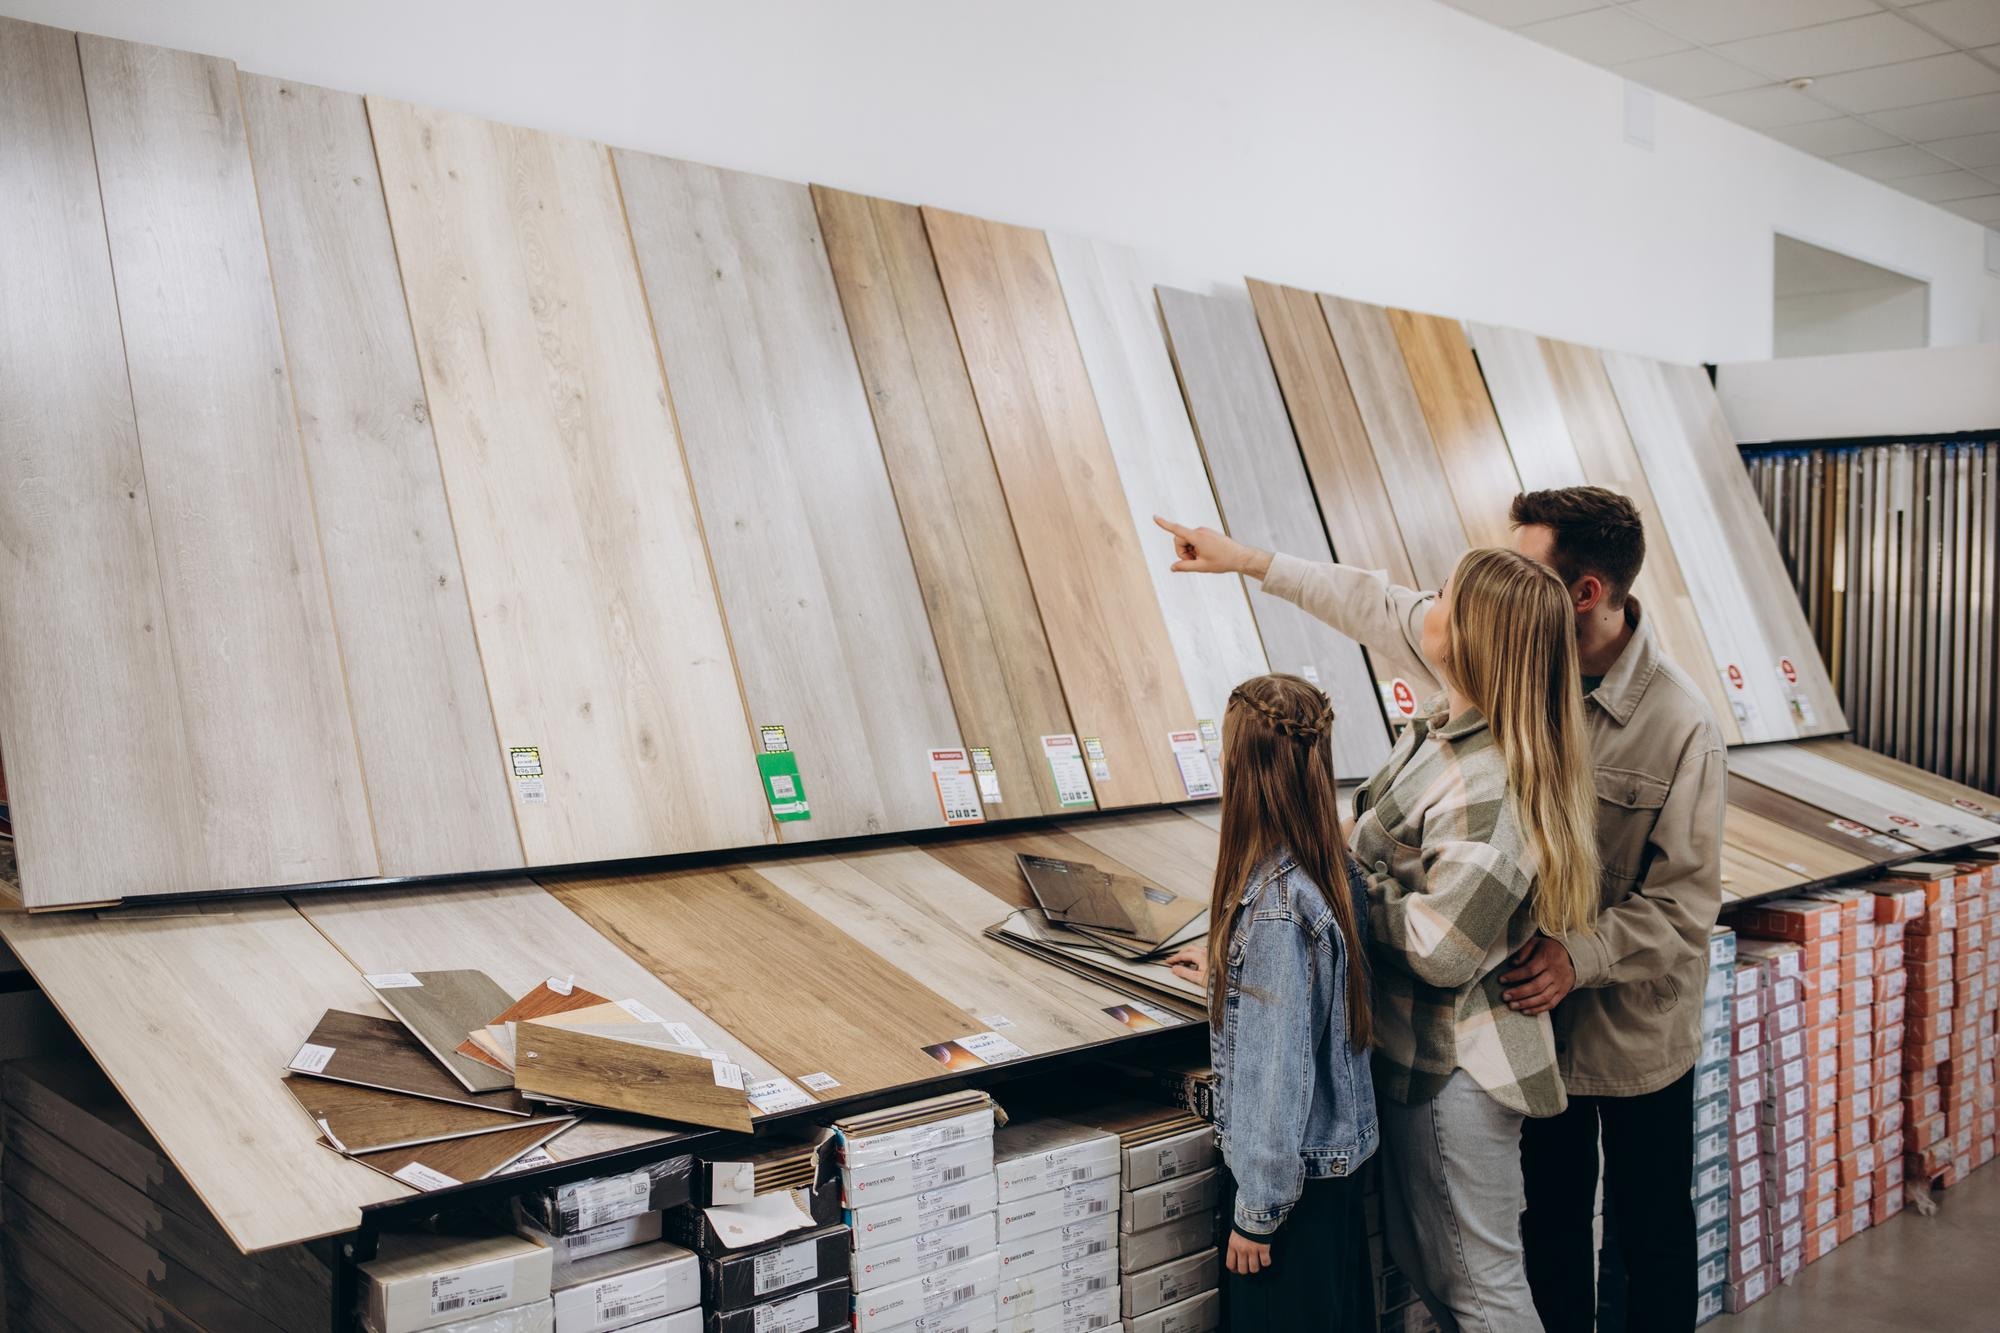
When you consider styles and materials, laminate offers a wealth of options. Whether you prefer a faux granite look, a classic marble pattern, or a rustic wood grain laminate, choose a design that will complement your kitchen’s cabinets, backsplash, and flooring. Colors can range from neutral tones to vibrant hues, select something that matches your personality and the ambiance you want to create. Verify the condition of your cabinetry because the countertop rests on the cabinet frame. Cabinets must have flat and sturdy surfaces to ensure the new laminate countertop adheres well and remains stable. If there are signs of water damage, unevenness, or structural issues, repair or reinforce before installing the new surface.
Gathering the best wood with the right tools before you start can mean the difference between frustration and success. The essentials include measuring tape, pencil, saw with a fine-toothed blade (jigsaw or circular saw), clamps, adhesive (preferably contact cement or construction adhesive, depending on manufacturer specs), screwdriver/drill, caulk and sealant, sandpaper, a putty knife, and safety equipment such as gloves and goggles.
For the best laminate materials and expert assistance on how to change laminate countertop easily, it’s highly recommended to consult with wood specialists like us, Jati Luhur Agung. We offer high-quality laminates tailored to customer needs along with professional advice, ensuring your project starts off on the right foot.
Tutorial Change Laminate Kitchen Countertops
Embarking on your own change laminate countertop installation project may seem challenging, but with the right step-by-step guide, you can achieve professional-looking results. The following tutorial section breaks down the process into manageable phases, starting from preparing your workspace right through to the finishing touches, ensuring you have a clear roadmap for effectively and efficiently transforming your kitchen. Focusing on thorough preparation and attention to detail will be the key to the success of your new installation.
1. Preparation Stage
Once you have gathered all your materials and tools, the very first step in the tutorial to change laminate kitchen countertops is the preparation stage, arguably one of the most important phases ensuring a smooth and successful installation. Begin by thoroughly clearing every single item off your existing countertop. This includes small appliances, dishes, utensils, decorative items, and any personal belongings. It’s critical to have a clean, empty workspace to give yourself enough room to work safely and efficiently. If your kitchen countertop includes sinks, cooktops, or other built-in appliances, you’ll need to take extra caution by first shutting off the water valves and power sources.
These utilities must be completely disconnected by a qualified professional or yourself if you have the proper knowledge, following all safety guidelines to avoid hazards such as leaks or electrical shocks.
To remove the old laminate countertop, locate and unscrew all fasteners attaching it to the cabinet frames or wall. These are typically found underneath the countertop rim or inside adjoining cabinet doors. If the countertop was glued down instead of fastened, you’ll need to use a putty knife or pry bar carefully inserted underneath the laminate edge to gently lift it off. This requires patience and delicacy. Rushing this process risks damaging the cabinetry or causing cracks in nearby surfaces. Wedge the tool gradually, gradually loosening the adhesive bond. You may also find it helpful to ask an assistant for support to safely manage the countertop as it separates.
Once fully removed, take the time to inspect the cabinet surfaces where the new laminate countertop will sit. Examine for any signs of damage such as cracks, warping, or chipping. Address these issues immediately by sanding down rough areas to smooth the surface or applying wood filler to patch any holes or gouges. When repairing wood filler, allow it to fully dry and then sand it flat for a level substrate. After repairs, clean the entire surface thoroughly using warm water mixed with mild soap or a gentle solvent designed to cut through grease and old adhesive residue. This step is absolutely crucial, any remaining dirt, grease, or residual glue will interfere with the bond of your new laminate countertop, potentially causing lifting or uneven spots later on.
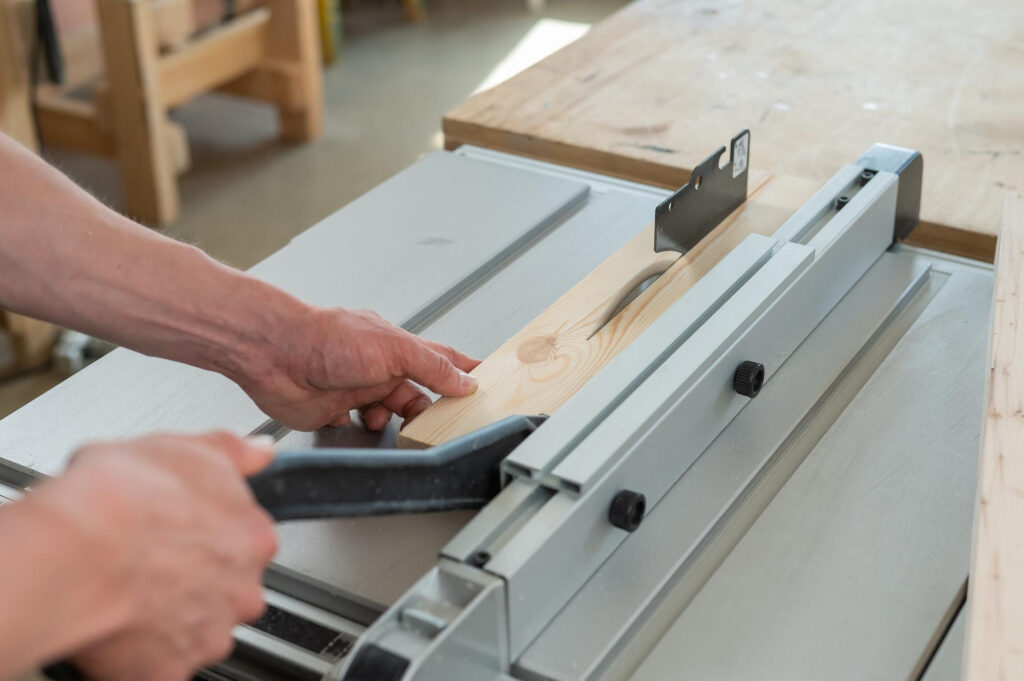
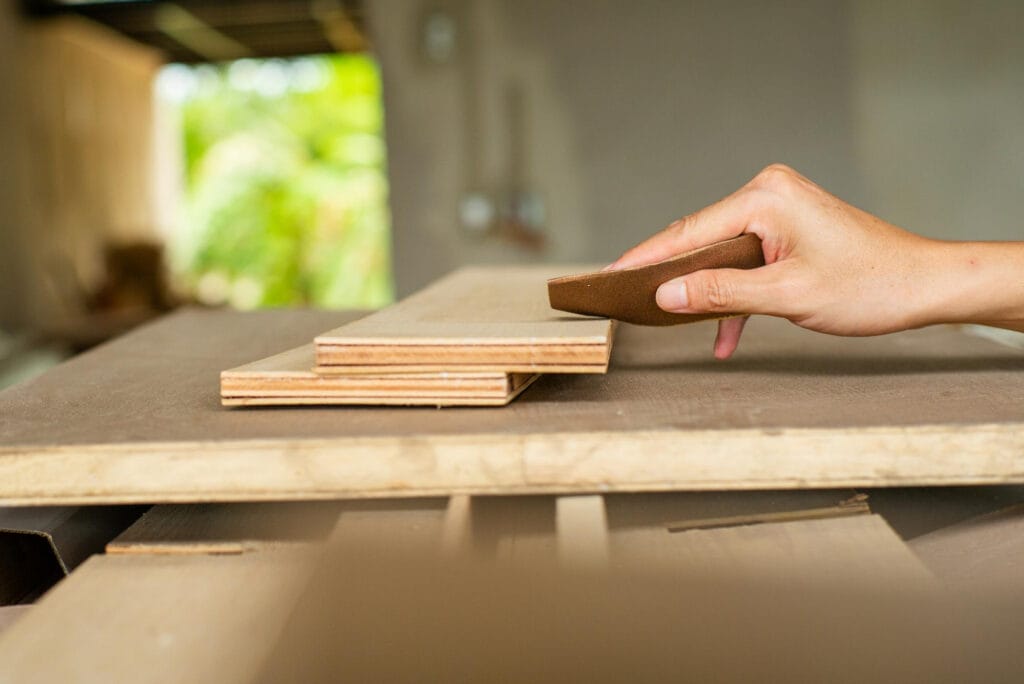
2. Cutting & Fitting
If your laminate countertop comes uncut, then one of the most important steps in how to change laminate countertop easily is performing precise measurement and cutting before installation. Begin by carefully laying your laminate countertop sheet on a clean, flat surface that is large enough to accommodate the entire piece. Having ample space around your workspace will allow you to maneuver safely and accurately during the cutting process. Use a tape measure to review all dimensions from your initial measurements, and use a pencil or fine marker to clearly outline all cutting lines including the overall length and width as well as any specialized cutouts for sinks, stoves, or other built-in appliances.
When it’s time to cut, the choice of blade and tools matters greatly in protecting your laminate’s decorative finish. A fine-toothed jigsaw blade is a popular option because it offers better control on curves and irregular shapes, while a circular saw fitted with a blade specifically designed for laminate or plywood provides clean, straight cuts. Make sure the blade is sharp and in ideal condition to prevent tearing or grabbing the laminate surface. Take your time and cut slowly along the marked lines; rushing this process can lead to chipping or cracking the laminate’s surface. A steady hand and patience are your allies here.
Because laminate is prone to chipping at the edges when cut, if you notice any small cracks or flaking along your cut lines, gently smooth them out using fine-grit sandpaper. Sand carefully just enough to remove sharp edges and splinters without thinning down the laminate layer too much. This finishing step helps improve the durability and aesthetic quality of your countertop edges.
3. Installation Process
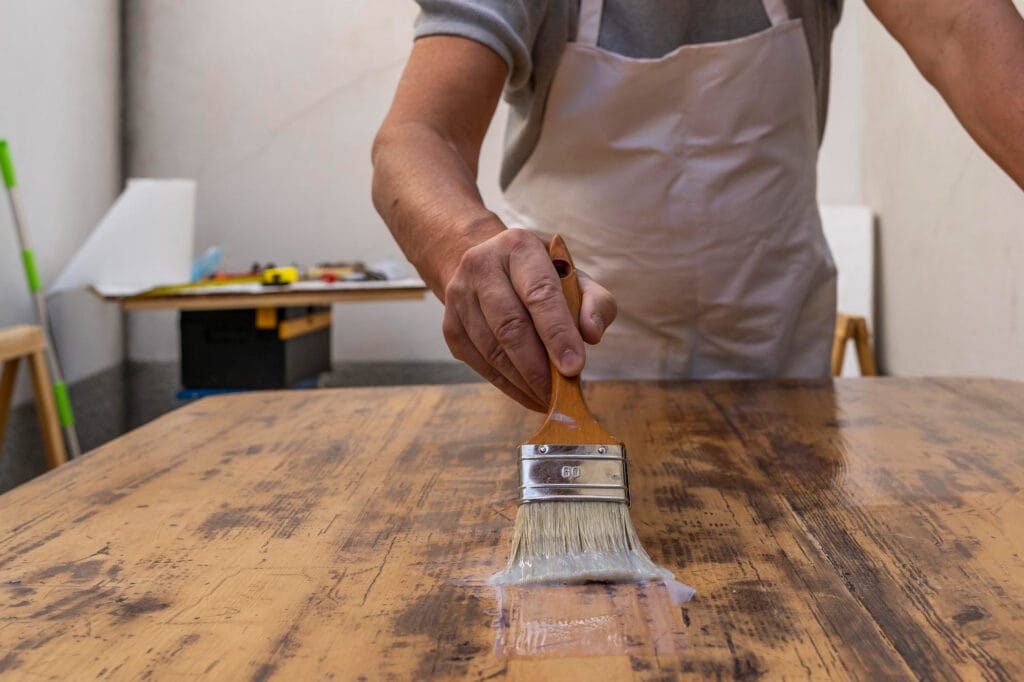
Begin by applying a strong adhesive around the cabinet edges and any surfaces where the laminate countertop will make contact. Contact cement or construction adhesive is usually recommended by your laminate supplier due to their strong bonding properties. Using a brush or roller, spread the adhesive evenly and thinly across both the cabinet tops and the underside of the laminate surface, if instructed. This ensures a secure, long-lasting bond and helps prevent future lifting or bubbling under the countertop.
Next, carefully lower the laminate countertop onto the cabinets, taking care to align it precisely with cabinet edges and any cutouts for sinks or appliances. Press down firmly along all edges and seams to eliminate air pockets that threaten to weaken adhesion or cause surface imperfections. To hold the laminate securely while the adhesive cures, use clamps spaced evenly along the edges, applying consistent pressure without damaging the countertop. Clamps help maintain tight joints and reduce movement during curing.
For additional safety and strength, secure your new countertop by screwing it into the cabinet frames. Position screws carefully in areas hidden from view or location where they will not affect the countertop’s durability or appearance, such as inside cabinet corners or under appliance cutouts. Be cautious not to overtighten screws, as this can crack the laminate or warp the underlying structure. Once firmly anchored, seal every seam, backsplash, edge, and joint meticulously with a waterproof caulk or sealant designed for laminate installations. This sealing barrier is vital to prevent moisture infiltration, which could otherwise cause swelling, peeling, or mold growth over time, compromising both structural integrity and aesthetics.
Lastly, always follow your adhesive manufacturer’s exact recommendations regarding curing or drying times before using your new countertop. This period often 24 to 48 hours is essential to guarantee a full, lasting adhesive bond and optimal durability of your laminate surface. Patience during this phase ensures your investment holds up beautifully for years to come.
4. Finishing Touches
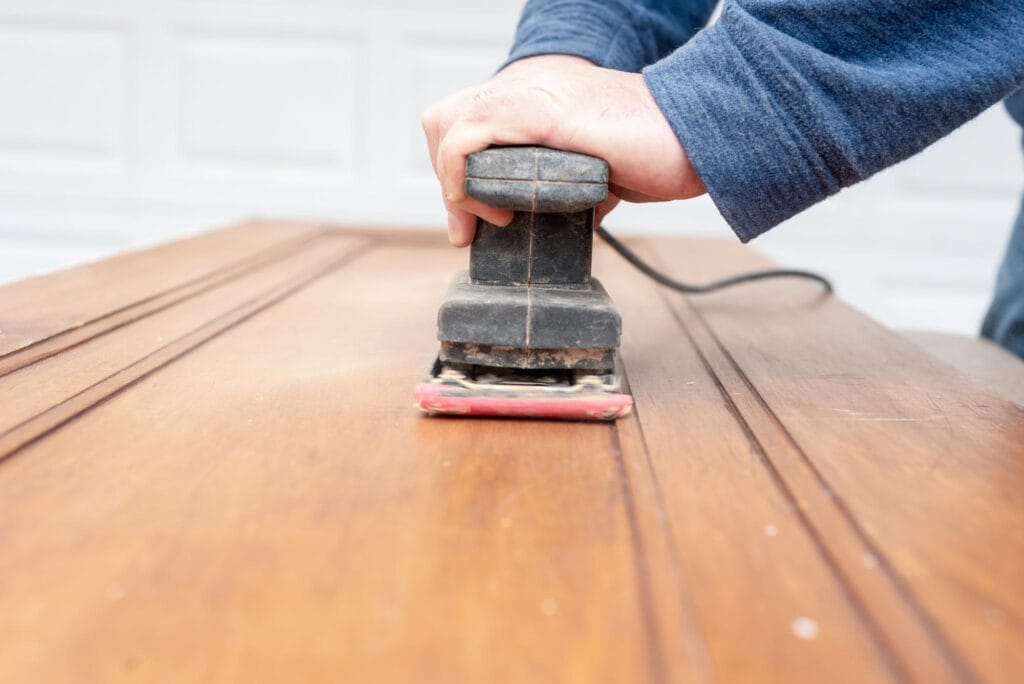
After the adhesive has fully set and your new laminate countertop is firmly secured in place, take the time to inspect your work closely and thoroughly. When you change laminate countertop, it’s important to look specifically for any sharp or rough edges around cutouts for sinks, stoves, or other appliances. Using a fine-grit sandpaper, gently smooth these areas to create safe and clean edges that are both comfortable to the touch and visually appealing. This small step helps prevent accidental cuts or snags on fabric and improves the overall finished appearance.
Once sanding is complete, clean the entire countertop surface carefully using a soft cloth dampened with mild dish soap and warm water. This removes any lingering dust, fingerprints, adhesive residue, or construction debris that may have accumulated during installation. It’s very important to avoid using abrasive cleaners, scouring pads, or harsh chemicals, as these could scratch, dull, or otherwise damage the laminate finish you worked hard to install perfectly. Next, proceed to reinstall sinks, faucets, and appliances with care, reconnecting water and electric lines in strict accordance with safety guidelines and manufacturer instructions. Ensuring proper reconnection prevents leaks, electrical issues, or potential hazards.
Finally, your beautifully installed laminate countertop is now ready for everyday use. However, it’s advisable to allow the full curing time recommended by your adhesive’s manufacturer often up to 24 or 48 hours before placing heavy cookware, small appliances, or other weighty items on the surface. This curing period ensures the bond fully strengthens, preventing any shifting or lifting that could compromise your handiwork. With this patient care, you’ll enjoy a flawless, durable new countertop for years to come.
Fixing & Maintaining Laminate Countertops
Knowing how to replace a laminate countertop is only the beginning. Keeping it in top shape afterward ensures it stays stylish and durable for many years. Fortunately, caring for laminate isn’t complicated. Wipe the surface routinely using a soft damp cloth and mild soap to maintain its fresh appearance. Steer clear of harsh chemicals, bleach, or abrasive scrubbers because they can cause scratches or leave the surface looking dull. If you spot small chips or minor scratches, laminate repair kits available at most hardware stores can help you blend them in with fillers or wax sticks.
Heat protection is also essential. Always place hot pans or pots on trivets or heat pads, laminate isn’t heat-resistant and exposure to hot items can leave burns or discoloration. And when chopping ingredients, rely on a cutting board rather than the countertop itself. Knife marks can create permanent damage that disrupts the smooth laminate finish. Should you notice any lifted edges or moisture sneaking into seams, act fast by reapplying adhesive and sealing the area. Quick repairs will prevent swelling or more costly fixes later.
To make your laminate countertop replacement as easy as possible, having the right materials and guidance matters. That’s where we are becomes an excellent partner. Jati Luhur Agung offer a broad selection of premium laminates, different finishes, textures, and patterns, allowing you to match your dream kitchen style, whether modern minimalist or natural stone-inspired. Even better, our knowledgeable team is ready to assist with measurements, product choices, cutting details, and installation tips. With support, achieving professional-level results becomes accessible even for first-time DIYers.
If you’re planning to change laminate countertop and refresh your kitchen without stress or overspending, you know the place to start. Explore our website to discover more options, request samples, or get expert guidance and begin transforming your kitchen with confidence for a beautiful, long-lasting upgrade today.

The Performance and Value of Engineered Hardwood Flooring for Your Home
Choosing the right flooring is one of the most significant investments you will make in your home. It’s the literal foundation of your interior design, influencing everything from acoustic quality to property value. For decades, solid wood was the undisputed king, but modern innovation has shifted the spotlight. Homeowners today are increasingly asking, “is engineered…
Comparing 3 Ply and Multi Ply Engineered Wood Flooring Performance, Which One Should You Choose?
The world of interior design and architectural engineering often feels like a balance between aesthetic purity and structural pragmatism. When it comes to hardwood flooring, the choice is no longer just about the species of wood or the stain color, it is about the very anatomy of the plank beneath your feet. For decades, solid…
The Complete Guide to Choosing Between Solid and Engineered Wood Floors
Imagine walking into a room where the floor doesn’t just support your furniture, but actually tells a story. There is a specific, undeniable magic in the grain of natural timber, the way it catches the morning light, the warmth it holds under your bare feet, and that faint, earthy scent that makes a house feel…
- By:PT. Jati Luhur Agung
- Tags: kitchen wood, laminate countertop
- Category: Kitchen Wood
- 0 comment