A kitchen countertop is more than just a utilitarian surface, it’s a centerpiece that can transform the entire atmosphere of your cooking space. If you’re dreaming of adding warmth, character, and natural beauty to your kitchen, learning how to build a countertop from wood is an excellent DIY project.
Wood countertops are beloved for their versatility and timeless appeal. They can be crafted to suit any style, from rustic farmhouse to sleek modern. If you’ve ever wondered how to build a countertop that combines function and elegance, this detailed guide will lead you through every step so you can create a stunning piece tailored to your tastes.
Preparing The Wood
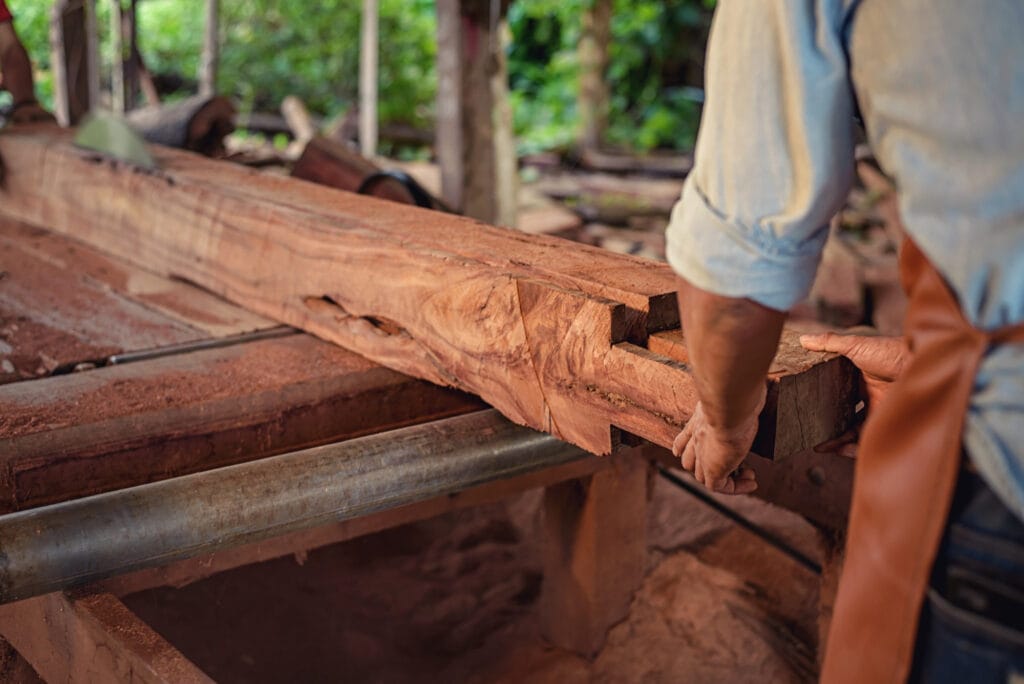
The foundation of a stunning wood countertop begins with the right preparation of the material. Selecting quality wood is crucial. Hardwoods such as maple, walnut, or oak are preferred because of their durability and attractive grain patterns. These hardwoods provide strength necessary to endure daily kitchen use and resist dents and scratches better than softwoods.
Once you’ve chosen your wood species and source your lumber or slabs, the first step is to let the wood acclimate to your home’s environment. This means placing the wood indoors for several days to adjust to the humidity and temperature, which prevents warping, shrinking, or cracking after installation. During this period, stack the wood with spacers between sheets for air circulation.
After acclimation, cut the wood into slabs sized for your countertop space. Pay close attention to your kitchen measurements to ensure a perfect fit. Once cut, plane and sand the pieces thoroughly to create a smooth, even surface free of knots, dents, or blemishes. Use a high-quality wood filler for any small imperfections, then sand again once the filler has dried. This creates a flawless base.
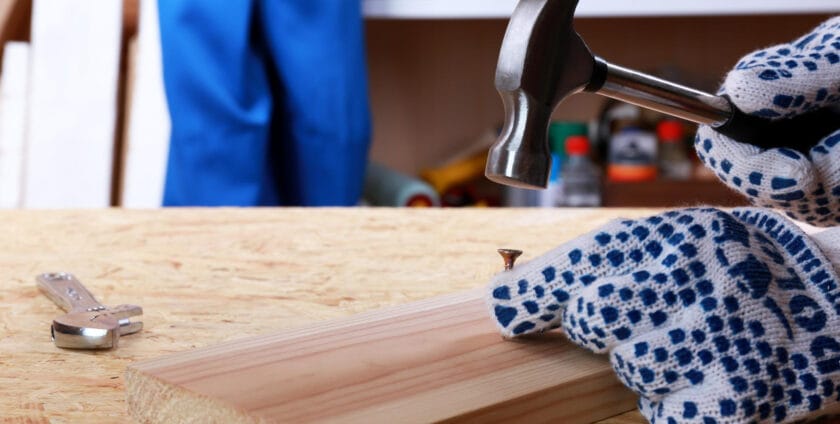
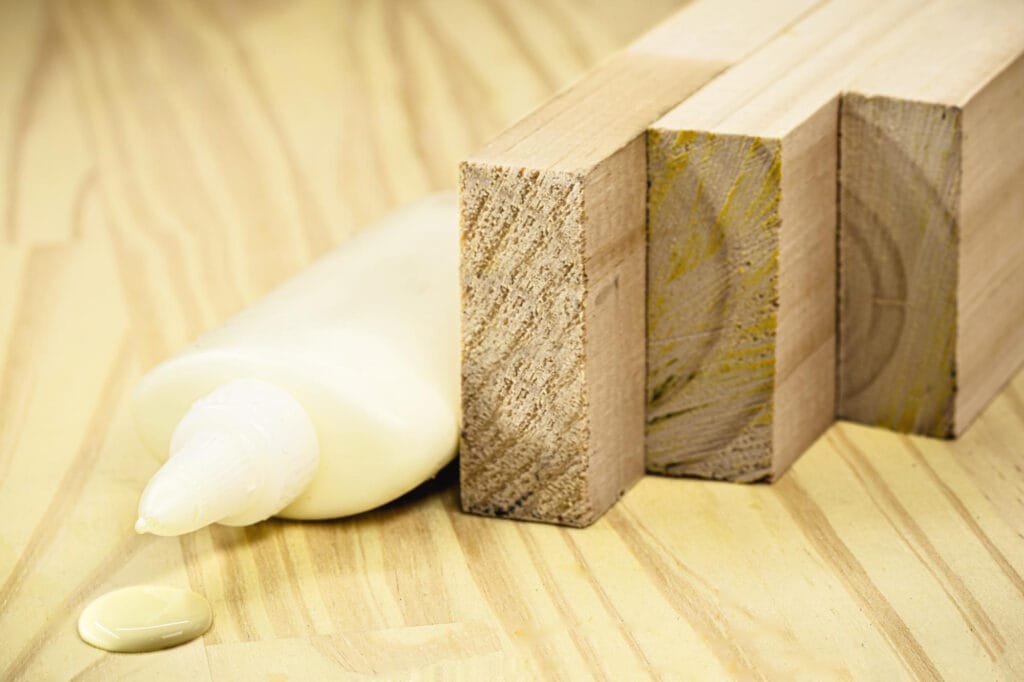
Next, you will join the wooden slabs edge to edge. Apply food-safe wood glue generously along the edges, and clamp the slabs tightly together. Proper alignment here is critical to avoid gaps. Leave the clamps in place until the glue fully cures, usually overnight. This preparation stage is vital because it ensures your wood countertop will be durable, sturdy, and visually seamless, forming a beautiful centerpiece for your kitchen.
Essential Tools You’ll Need

Knowing how to build a countertop also means being equipped with the right tools to achieve precision and efficiency. Using quality tools simplifies the process and helps produce professional results.
- Table Saw or Circular Saw: For accurately cutting your slabs to size and trimming edges.
- Jointer and Planer: To flatten surfaces and create perfectly straight, smooth edges for joining.
- Clamps: Essential for holding glued boards firmly in place during drying to ensure tight bonds.
- Orbital or Belt Sander: To smooth the surface, starting with coarse grit and moving towards finer grades.
- Router: For rounding edges or creating decorative edge profiles that add refinement.
- Measuring Tape and Carpenter’s Square: For double-checking dimensions and ensuring right angles.
- Wood Glue: Opt for waterproof, food-safe formulas for durability and safety in kitchen environments.
- Safety Gear: Don’t forget goggles, gloves, and a dust mask to protect yourself during cutting and sanding.
Having these tools ready will make your woodworking tasks easier, safer, and more precise, key to building a high-quality wood countertop that will last for years.
Step by Step Building Instructions
Once you’ve prepared your wood and gathered tools, follow these detailed instructions on how to build a countertop:
- Measure the exact dimensions of your countertop space, and mark these on your lumber slabs.
- Use your table or circular saw to cut the wood to the measured sizes.
- Employ a jointer or hand plane to straighten the edges that will be glued together. Straight edges ensure a tight, invisible seam.
- Spread a generous layer of food-safe wood glue along the edges of the slabs, then press them together securely. Use clamps to hold everything tightly while the glue cures. Check for any glue squeeze-out and immediately wipe it off with a damp cloth to avoid staining.
- Let the glued slabs dry for at least 24 hours to ensure a full bond.
- Once dried, sand the entire countertop surface starting with an 80-grit sandpaper to remove raised grains or minor imperfections. Progressively switch to 120, 180, and then 220 grit for a smooth, silky finish.
- Using a router fitted with an edge-forming bit, round the edges or craft a decorative profile for a refined appearance that also prevents splintering and adds comfort.
- Clean the surface meticulously with a tack cloth or vacuum to remove all dust and debris.
- Apply your chosen finish or sealer to protect the wood against moisture, stains, and heat.
Pay careful attention to each step for a durable, beautiful countertop. The effort you put into precise cuts, careful sanding, and finishing will show in the final result.
Stain Options for Countertops
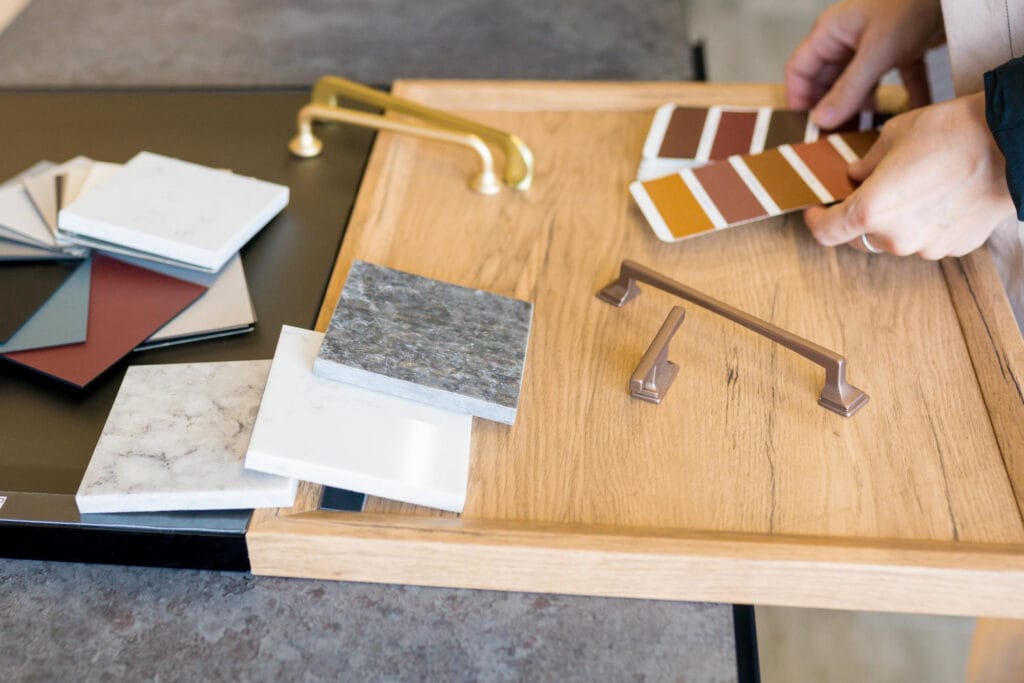
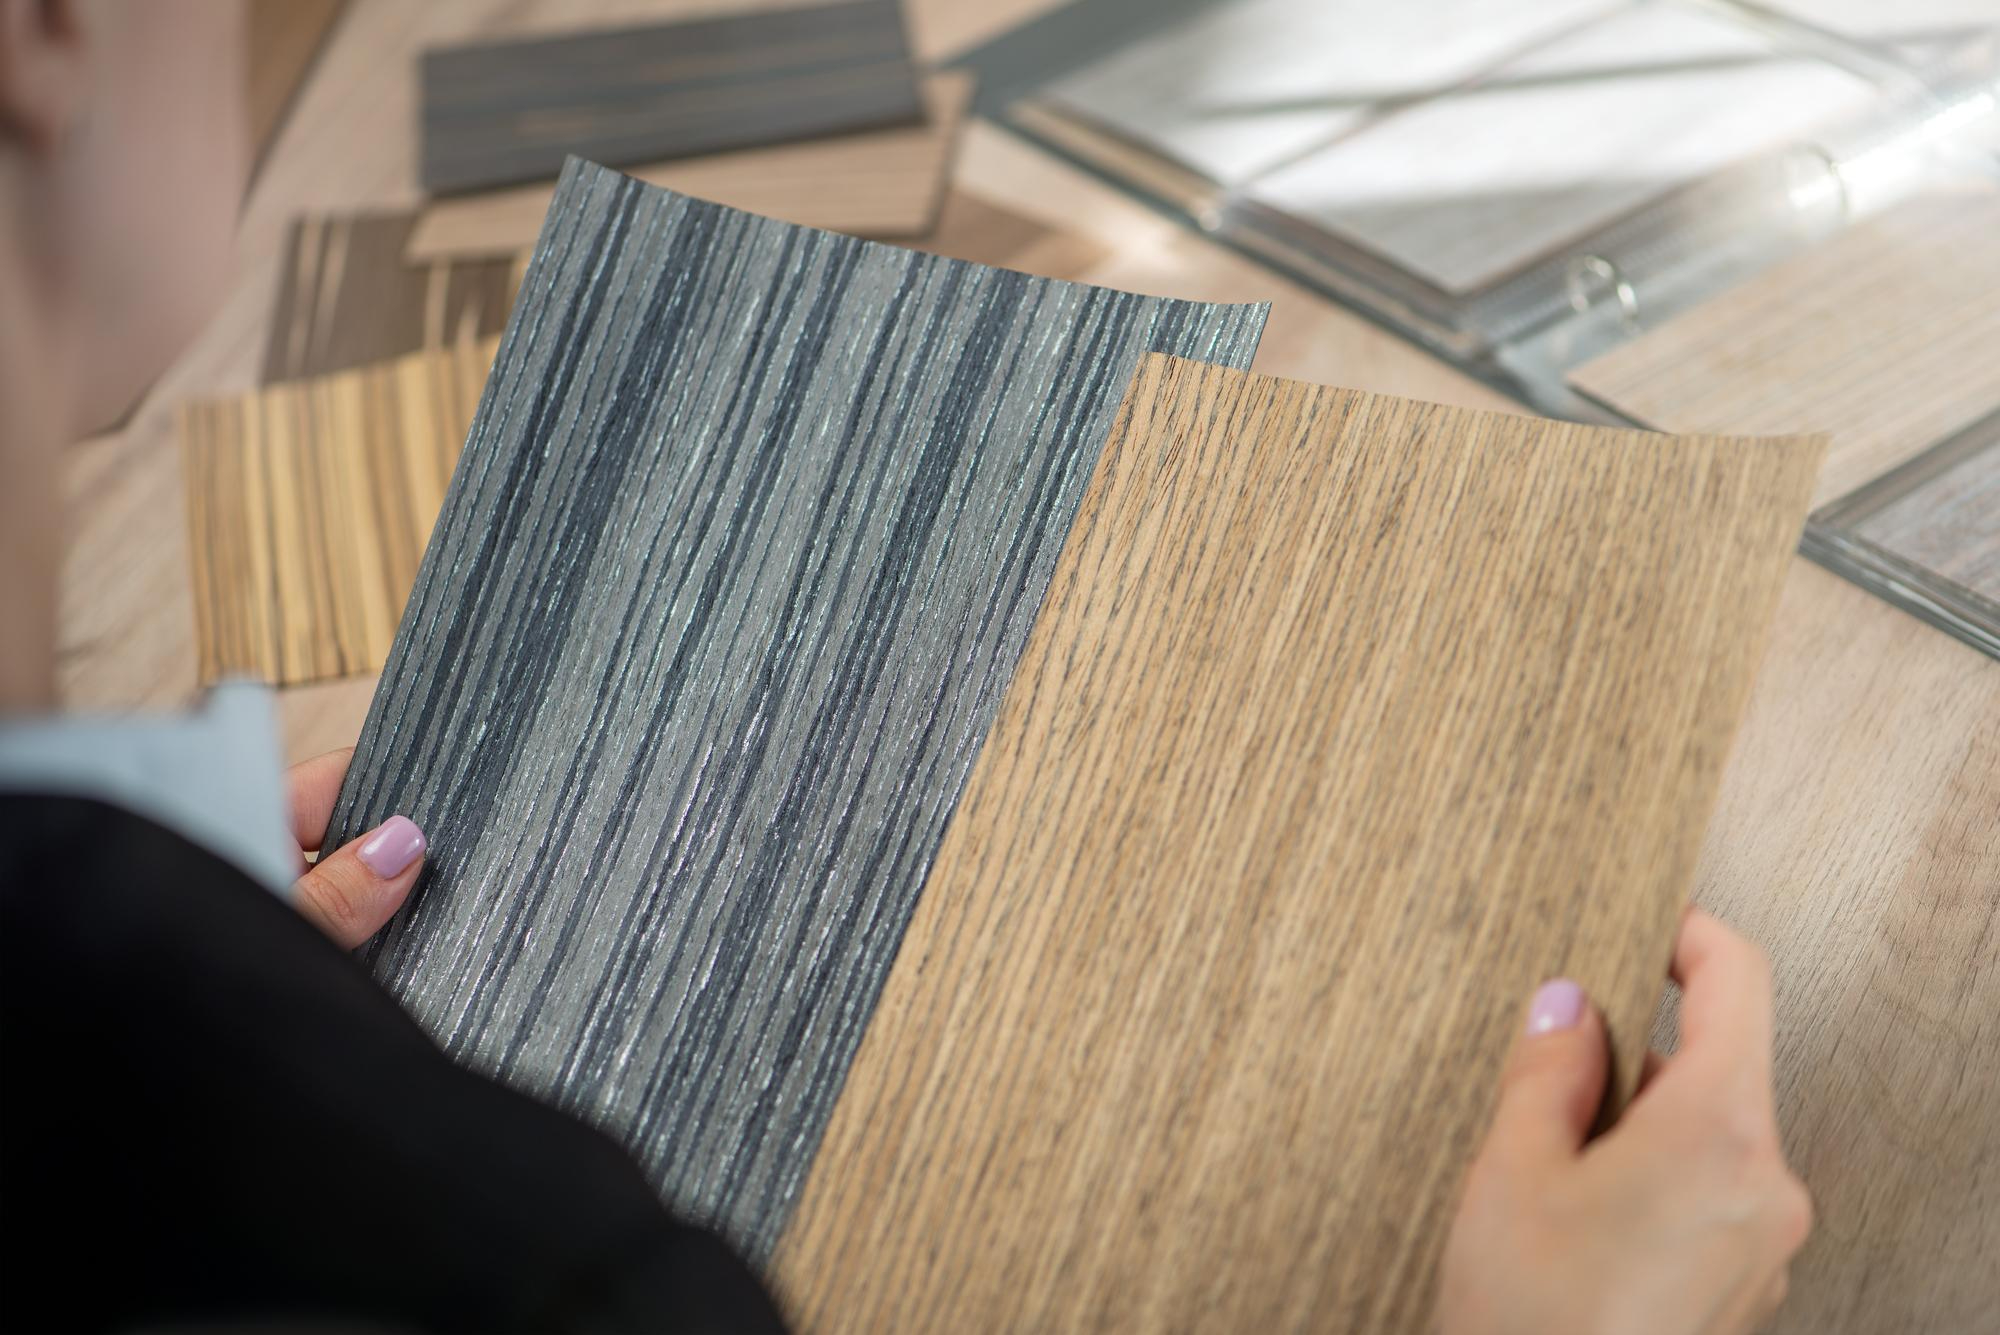
With your wood countertop built, selecting the right stain and finish enhances its beauty and longevity. Stains are available in a broad palette of hues to suit any kitchen design, influencing the overall ambiance significantly.
Light stains such as natural or honey tones highlight the wood’s warm, golden hues and distinctive grain patterns. These are excellent choices for kitchens seeking a bright, airy feel. Medium stains like cherry, pecan, or walnut add richness and depth without overpowering the natural wood texture. They work well in traditional or transitional kitchen styles.
Darker stains like espresso, mahogany, or ebony impart a dramatic modern edge, making the countertop a striking focal point. Dark finishes can contrast beautifully with lighter cabinetry or complement dark cupboards for a cohesive, moody look.
Beyond color, choose finishes that provide protection while enhancing the wood’s characteristics. Penetrating oil finishes, including tung or linseed oil, soak into the wood fibers, nourishing and safeguarding them while maintaining a matte, natural appearance. However, oils usually require more frequent maintenance.
In contrast, polyurethane sealers create a protective, water-resistant surface layer with varying sheens from matte to high gloss. This finish offers superb durability, ideal for kitchen countertops that endure heavy use, moisture, and heat exposure. Some prefer a combination, stain first to achieve the desired tone, then seal with a clear, durable polyurethane for best protection.
Embracing the process of how to build a countertop allows you to take pride in crafting a space that reflects your taste and skill. The natural warmth of a wood surface adds character and charm unmatched by synthetic materials. With careful preparation, the proper tools, step-by-step attention, and thoughtful finishing, your new wood countertop will become a timeless, inviting centerpiece in your home.
If you’re ready to take your woodworking project to the next level, consider partnering with us, a trusted name in premium quality wood and expert craftsmanship. With years of experience and a commitment to excellence, Jati Luhur Agung offers a wide selection of beautiful, durable wood materials perfect for your countertops and more. Our team is dedicated to helping you find the ideal wood type and finish that matches your vision and lifestyle. Visit our official website to discover their product range, request personalized advice, and start creating a stunning wood countertop that will enhance the beauty and value of your home for years to come. Don’t settle for less, choose Jati Luhur Agung and bring your dream wood countertop to life with confidence and style!
The Performance and Value of Engineered Hardwood Flooring for Your Home
Choosing the right flooring is one of the most significant investments you will make in your home. It’s the literal foundation of your interior design, influencing everything from acoustic quality to property value. For decades, solid wood was the undisputed king, but modern innovation has shifted the spotlight. Homeowners today are increasingly asking, “is engineered…
Comparing 3 Ply and Multi Ply Engineered Wood Flooring Performance, Which One Should You Choose?
The world of interior design and architectural engineering often feels like a balance between aesthetic purity and structural pragmatism. When it comes to hardwood flooring, the choice is no longer just about the species of wood or the stain color, it is about the very anatomy of the plank beneath your feet. For decades, solid…
The Complete Guide to Choosing Between Solid and Engineered Wood Floors
Imagine walking into a room where the floor doesn’t just support your furniture, but actually tells a story. There is a specific, undeniable magic in the grain of natural timber, the way it catches the morning light, the warmth it holds under your bare feet, and that faint, earthy scent that makes a house feel…
- By:PT. Jati Luhur Agung
- Tags: beautiful wood, build countertop, wood countertops
- Category: Kitchen Wood
- 0 comment