In the past few years, home improvement and DIY culture have exploded in popularity. From hand-painted mugs to custom shelving, people are moving away from mass produced items and leaning toward projects that reflect their own style. Among the many trends, one stands out for its practicality and charm is learning how to create your own cutting board.
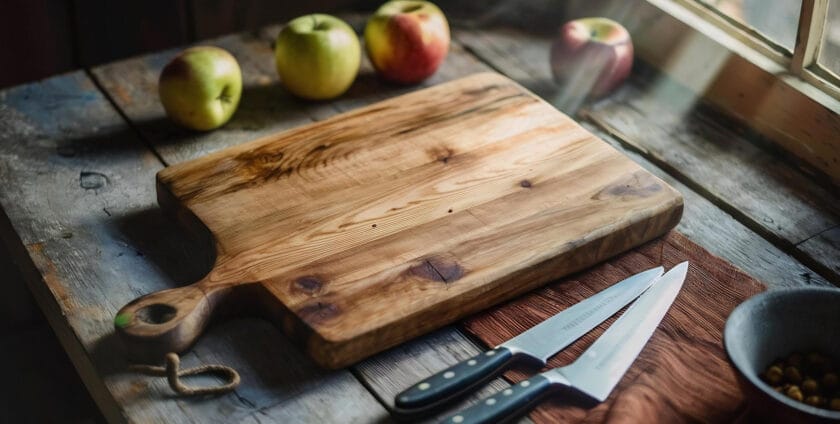
It’s easy to see why this project is winning hearts. A cutting board isn’t merely a block of wood, it’s the stage where ingredients come to life, a trusted partner for everyday cooking, and sometimes even a conversation starter when friends drop by. You might see stylish walnut or maple boards in kitchenware shops with hefty price tags, but with some time and effort, you can craft something just as beautiful, maybe even better, without paying a premium.
Right now, there’s also a growing movement toward sustainability and mindful consumption. Making your own tools at home helps reduce reliance on plastic, minimizes waste, and lets you control the materials you use. Instead of buying yet another mass-produced kitchen item, you can create something that has a personal story, and that’s what makes it so satisfying to create your own cutting board.
Choosing The Right Wood for Your Cutting Board
The first step is the most important, selecting your wood. Your choice of material directly affects durability, food safety, and the overall look of your board. Not all wood is suited for food preparation, so let’s break it down.
Go for hardwood. This means species like maple, walnut, cherry, and teak. These woods are dense enough to resist deep knife cuts, which can trap bacteria, yet not so hard that they damage your knives. Maple is the gold standard among chefs, it’s light in color, has a tight grain, and provides an excellent cutting surface. Walnut offers a deep, rich tone for a more elegant look. Cherry adds a warm, reddish hue that deepens with age. Teak is extremely durable and resistant to water damage, though it’s slightly more expensive.
When sourcing your wood, make sure it’s food safe and untreated. Avoid any reclaimed boards with unknown finishes, old paint, or signs of chemical treatment, unless you can sand and prepare them thoroughly. While reclaimed wood can be a fantastic eco-friendly choice, it needs extra attention before becoming food-safe.
Thickness matters too. For a board that feels substantial but is still easy to handle, aim for one and a quarter to one and a half inches thick. Thinner boards may warp over time, while thicker ones are heavier and harder to store.
Finally, think about grain orientation. Edge grain boards are made from boards glued side by side, creating a striped look, great for beginners and easy to maintain. End grain boards, which show the cross-section of the wood, are more advanced to make but offer superior durability and knife-friendliness. Chefs love them because the fibers absorb cuts better and “self-heal” over time. But, if you are still confused about cutting board sourcing, the article about guide to sourcing high-quality wood cutting boards may answer your questions.
You Can Make A Cutting Board in Easy Steps
Once you’ve selected the right type of wood, it’s time to get hands-on with the project. Here’s a straightforward process to help you create your own cutting board from scratch. This guide is perfect for beginners, but it can also be adapted for more advanced techniques if you’re feeling ambitious.
- Step 1
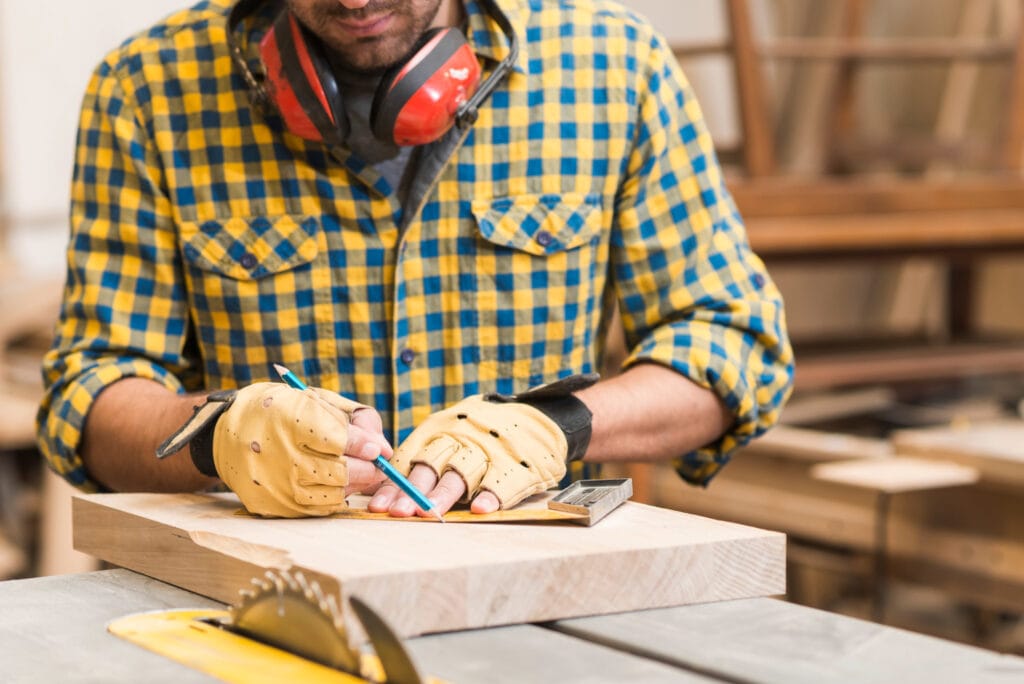
Measure and cut your wood. Decide on the dimensions of your board, common sizes are 12×18 inches for a large prep board, or 8×10 inches for a small one. Use a table saw or circular saw to cut your hardwood to the desired width.
- Step 2
Arrange your pieces. If you’re gluing multiple strips together, lay them out in the order you like. You can create a pattern by alternating species, maple next to walnut for example or keep it simple with a uniform look.
- Step 3
Glue and clamp. Apply food-safe wood glue to the edges of each strip. Align the pieces neatly, press them together, and secure them with clamps. Keep an eye on the surface to ensure it remains level. Before the adhesive sets, gently wipe off any excess using a slightly damp cloth.
- Step 4
Let it cure. Leave the clamped wood to dry for at least 24 hours. Don’t rush this step, glue needs time to fully bond.
- Step 5
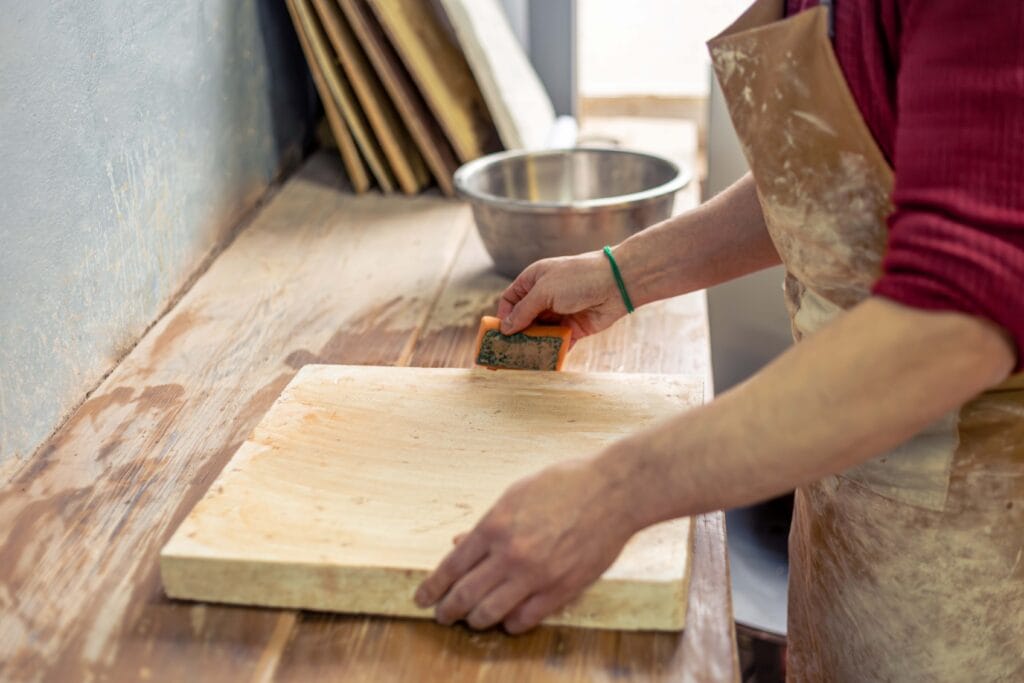
Flatten the surface. Once dry, remove the clamps and check for unevenness. Use a planer if you have one, or a belt sander to smooth both sides. Start with coarse grit (80–100) and gradually work your way up to fine grit (220–320).
- Step 6
Shape the edges. For comfort and aesthetics, soften sharp corners with a router or sandpaper. Rounded or beveled edges make the board easier to handle and more visually appealing.
- Step 7
Add optional features. If you want a juice groove for cutting meat, a handle hole, or rubber feet to prevent slipping, now’s the time to add them. These touches can make your board more functional and unique.
- Step 8
Apply the finish. Finish it with food-safe mineral oil or a blend of mineral oil and beeswax. Apply it evenly, let it soak in for a few hours, and then wipe away any remaining residue.
- Step 9
Let it rest. Allow the board to dry overnight before first use. Maintain it by reapplying oil whenever the surface looks dry or faded.
At this stage, you’re not just making a kitchen tool but you’re creating a piece of functional art. Whether you keep it simple or go for a showpiece, learning to create your own cutting board is a rewarding experience. It’s affordable, customizable, and a perfect entry point into woodworking.
Plus, every time you prepare a meal, you’ll be reminded of the time, care, and creativity you invested in your kitchen. And if you’re inspired to explore premium materials or need expert guidance, let’s check out our website. We are offer high quality wood options that can elevate your project, helping you create your own cutting board that lasts for years and becomes a centerpiece in your home.
5 Home Renovation Trends Homeowners Are Investing in for 2026
The way people think about their homes continues to evolve. Over the past few years, houses have become more than just places to sleep and store belongings. They now function as offices, wellness retreats, entertainment hubs, and personal sanctuaries. As lifestyles shift, homeowners are becoming more selective about where they invest their renovation budgets. The…
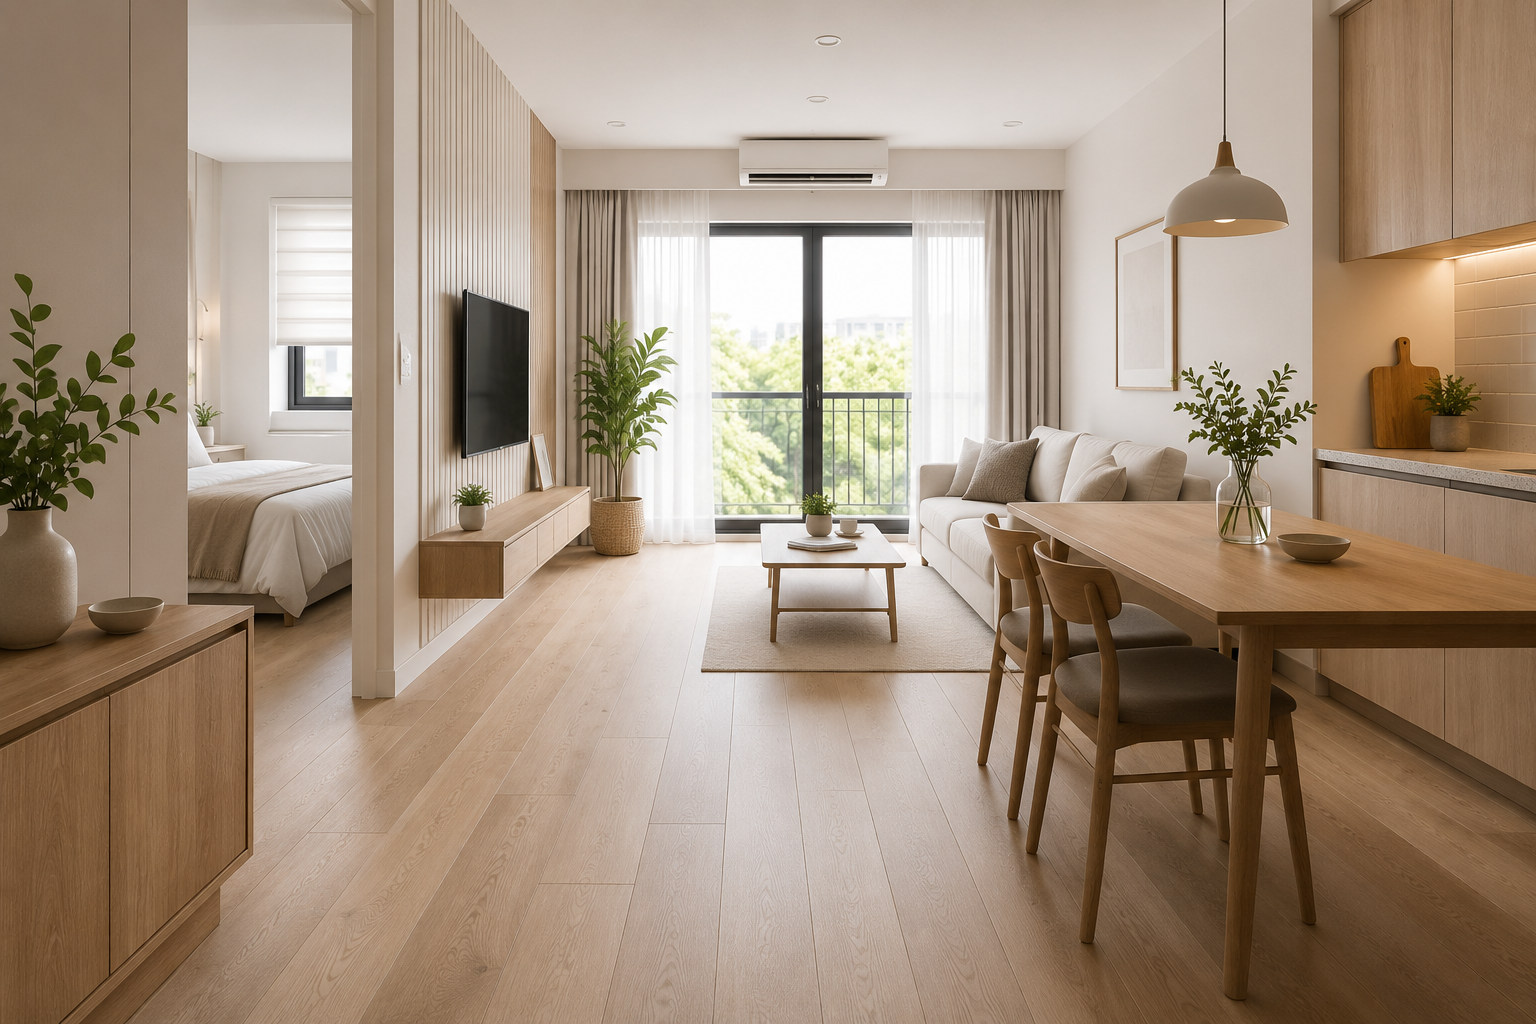
5 Smart Flooring Strategies That Make Small Spaces Feel Larger
Small rooms often come with big design challenges. Whether it is a compact apartment, a small office, a studio unit, or a cozy family home, making the space feel open and comfortable requires thoughtful planning. Many homeowners focus on wall colors, furniture placement, and lighting when trying to create the illusion of a larger room.…
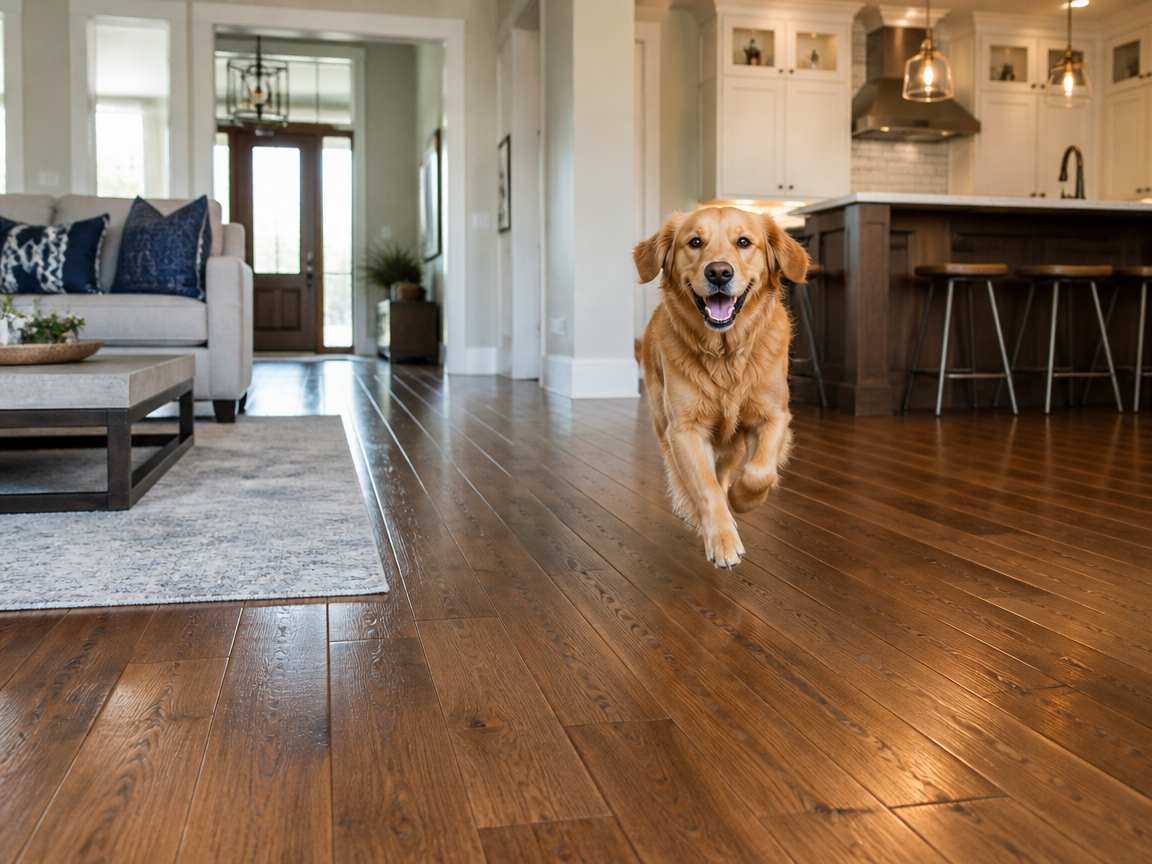
Pet-Friendly Wood Flooring That Can Handle Everyday Life
Life with pets is full of joyful moments. Dogs and cats bring warmth, companionship, and energy into a home, but they can also create challenges for flooring. Scratches, muddy paw prints, accidental spills, and constant activity may gradually affect the appearance of many floor surfaces. Choosing the right flooring is therefore an important decision for…
- By:PT. Jati Luhur Agung
- Tags: cutting board, diy project
- Category: Cutting Board
- 0 comment